Today, I received an exciting package from Alex in Russia. This is something new for the Xeltek Superpro IS01 that I’ve been eager to try out. As soon as I can set aside some time, I’ll install the new component and dive into testing it. Stay tuned for a follow-up video where I’ll walk you through the installation process and share my first impressions. I’m looking forward to seeing how it enhances the capabilities of the Superpro IS01. (Also Used For Repair Of A Bad/Corrupt AE801 on Main Board)
You Can find Alex and his wonderful power toys (Magic Chip, Mega Magic Adapter, Etc.) for Xeltek Superpro Programmers on telegram.
Please support him he does some wonderful work.
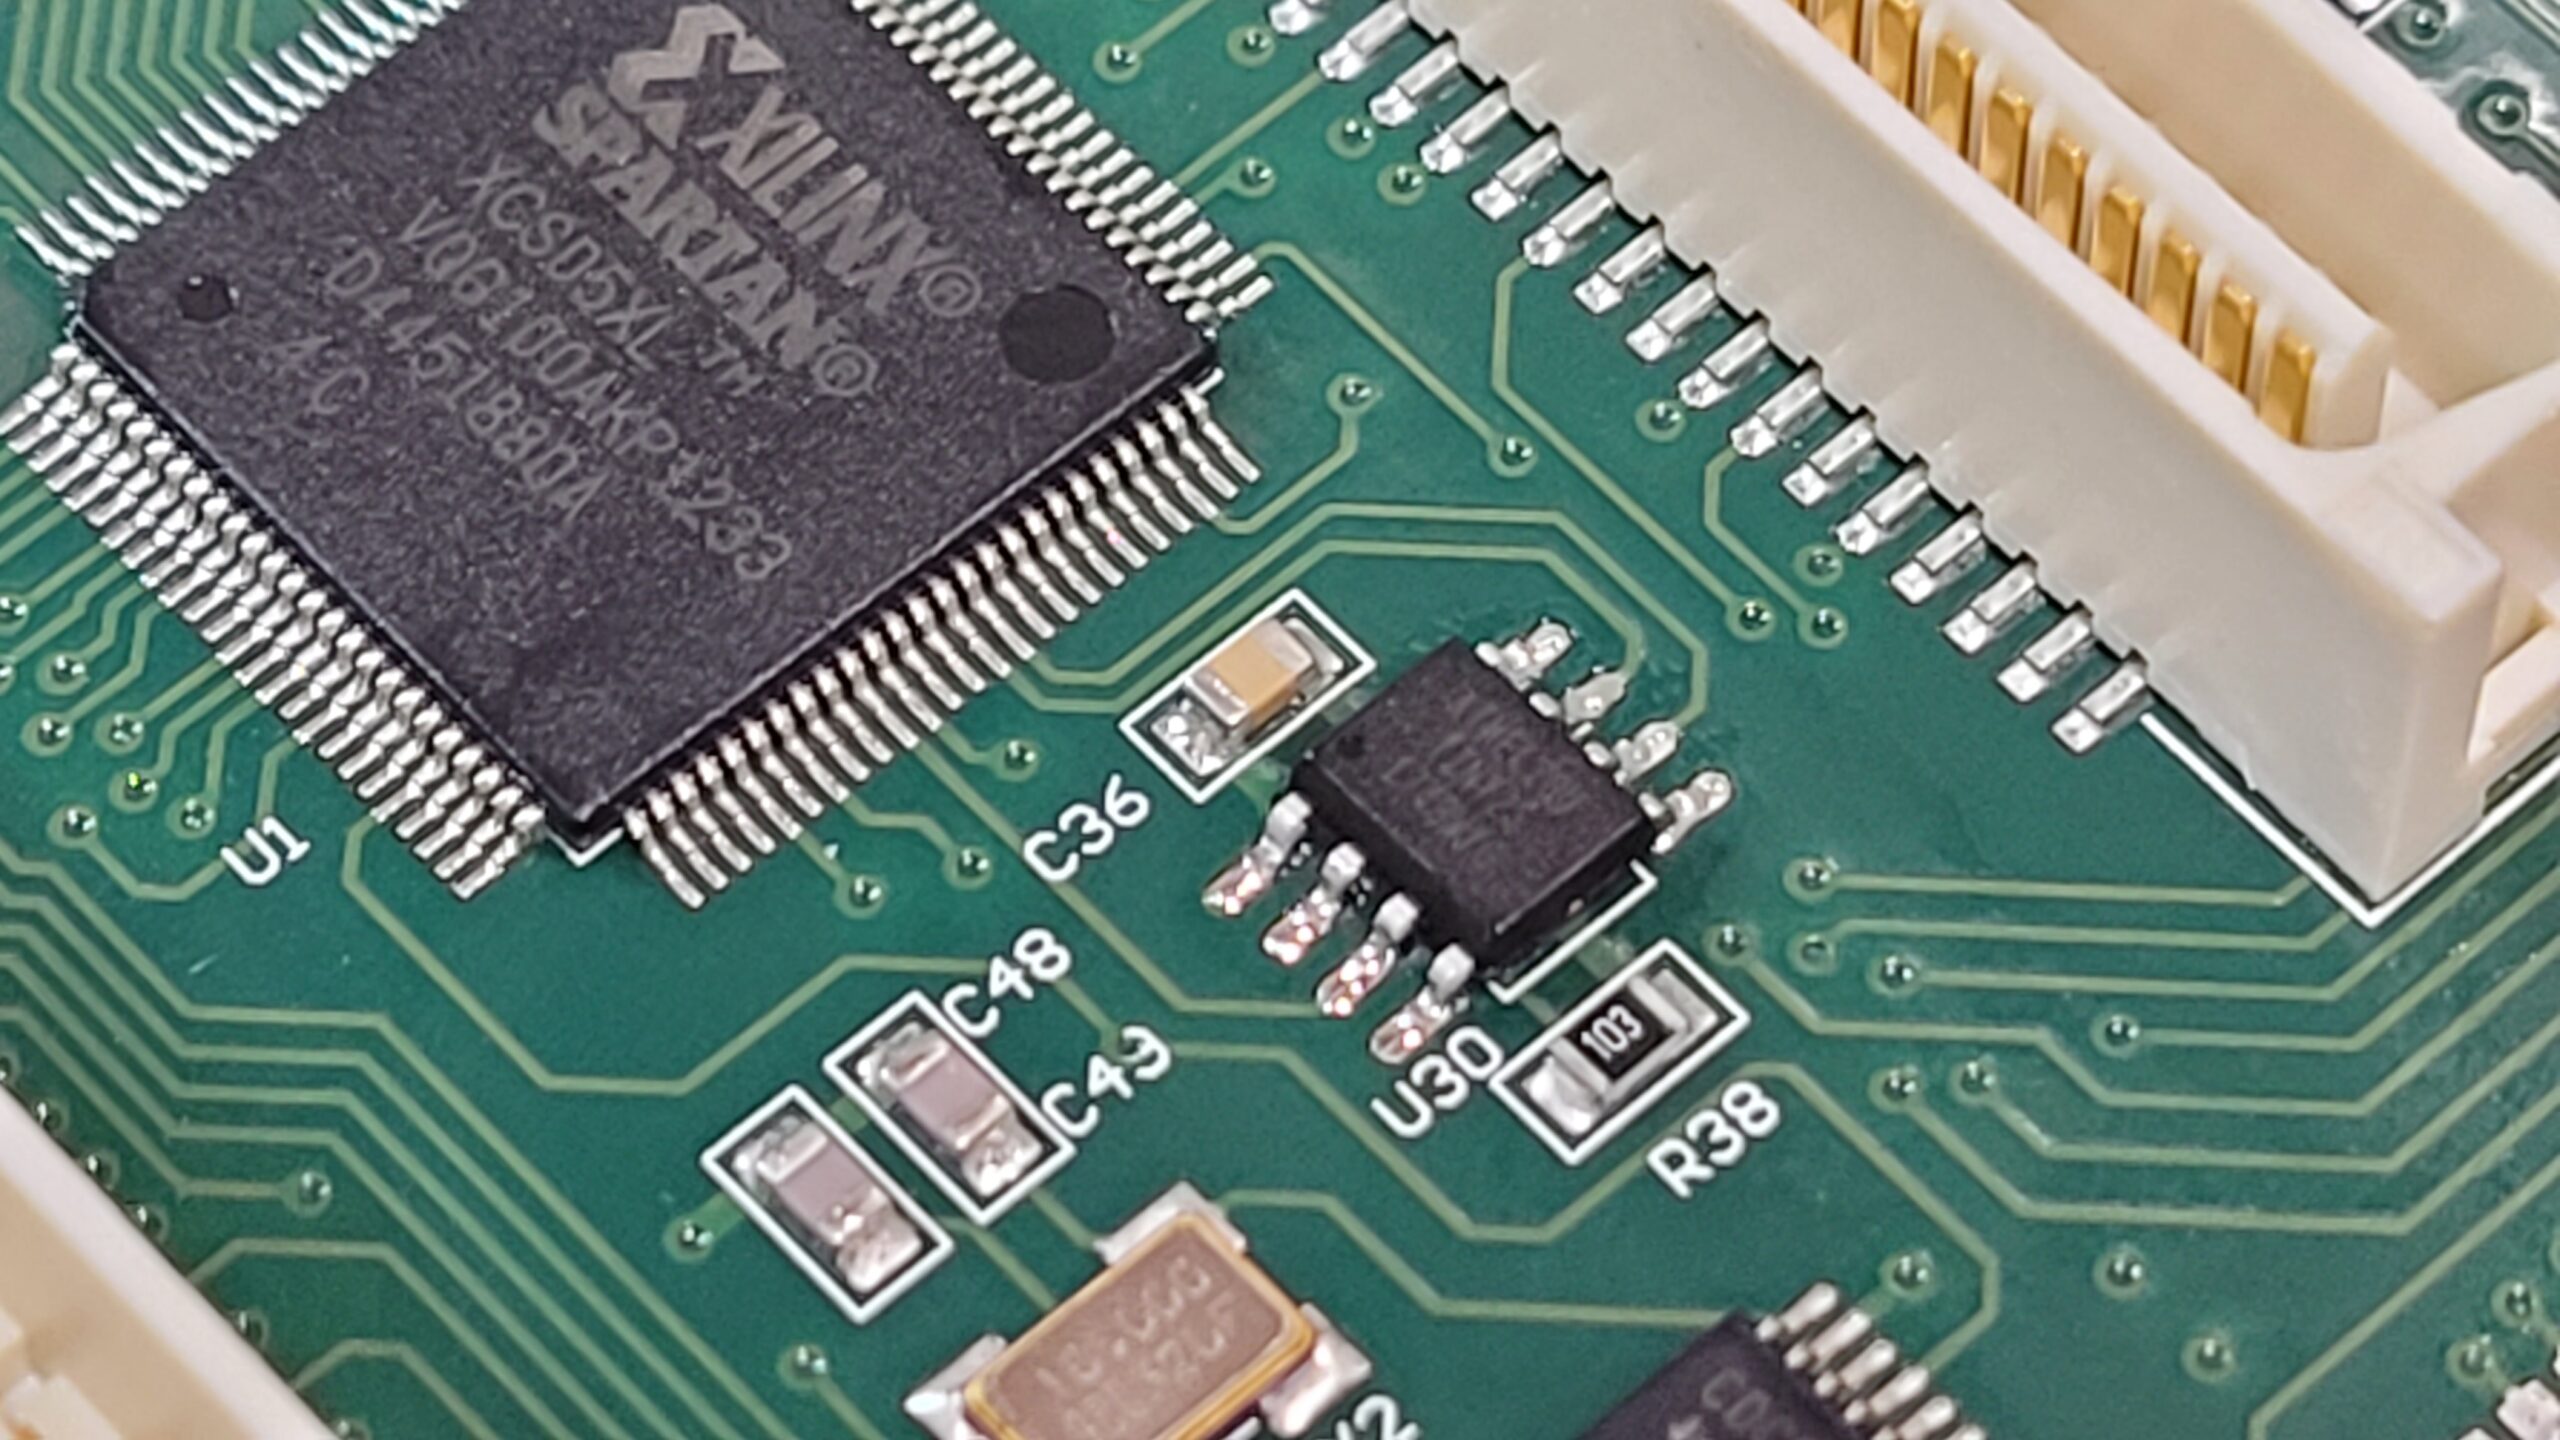
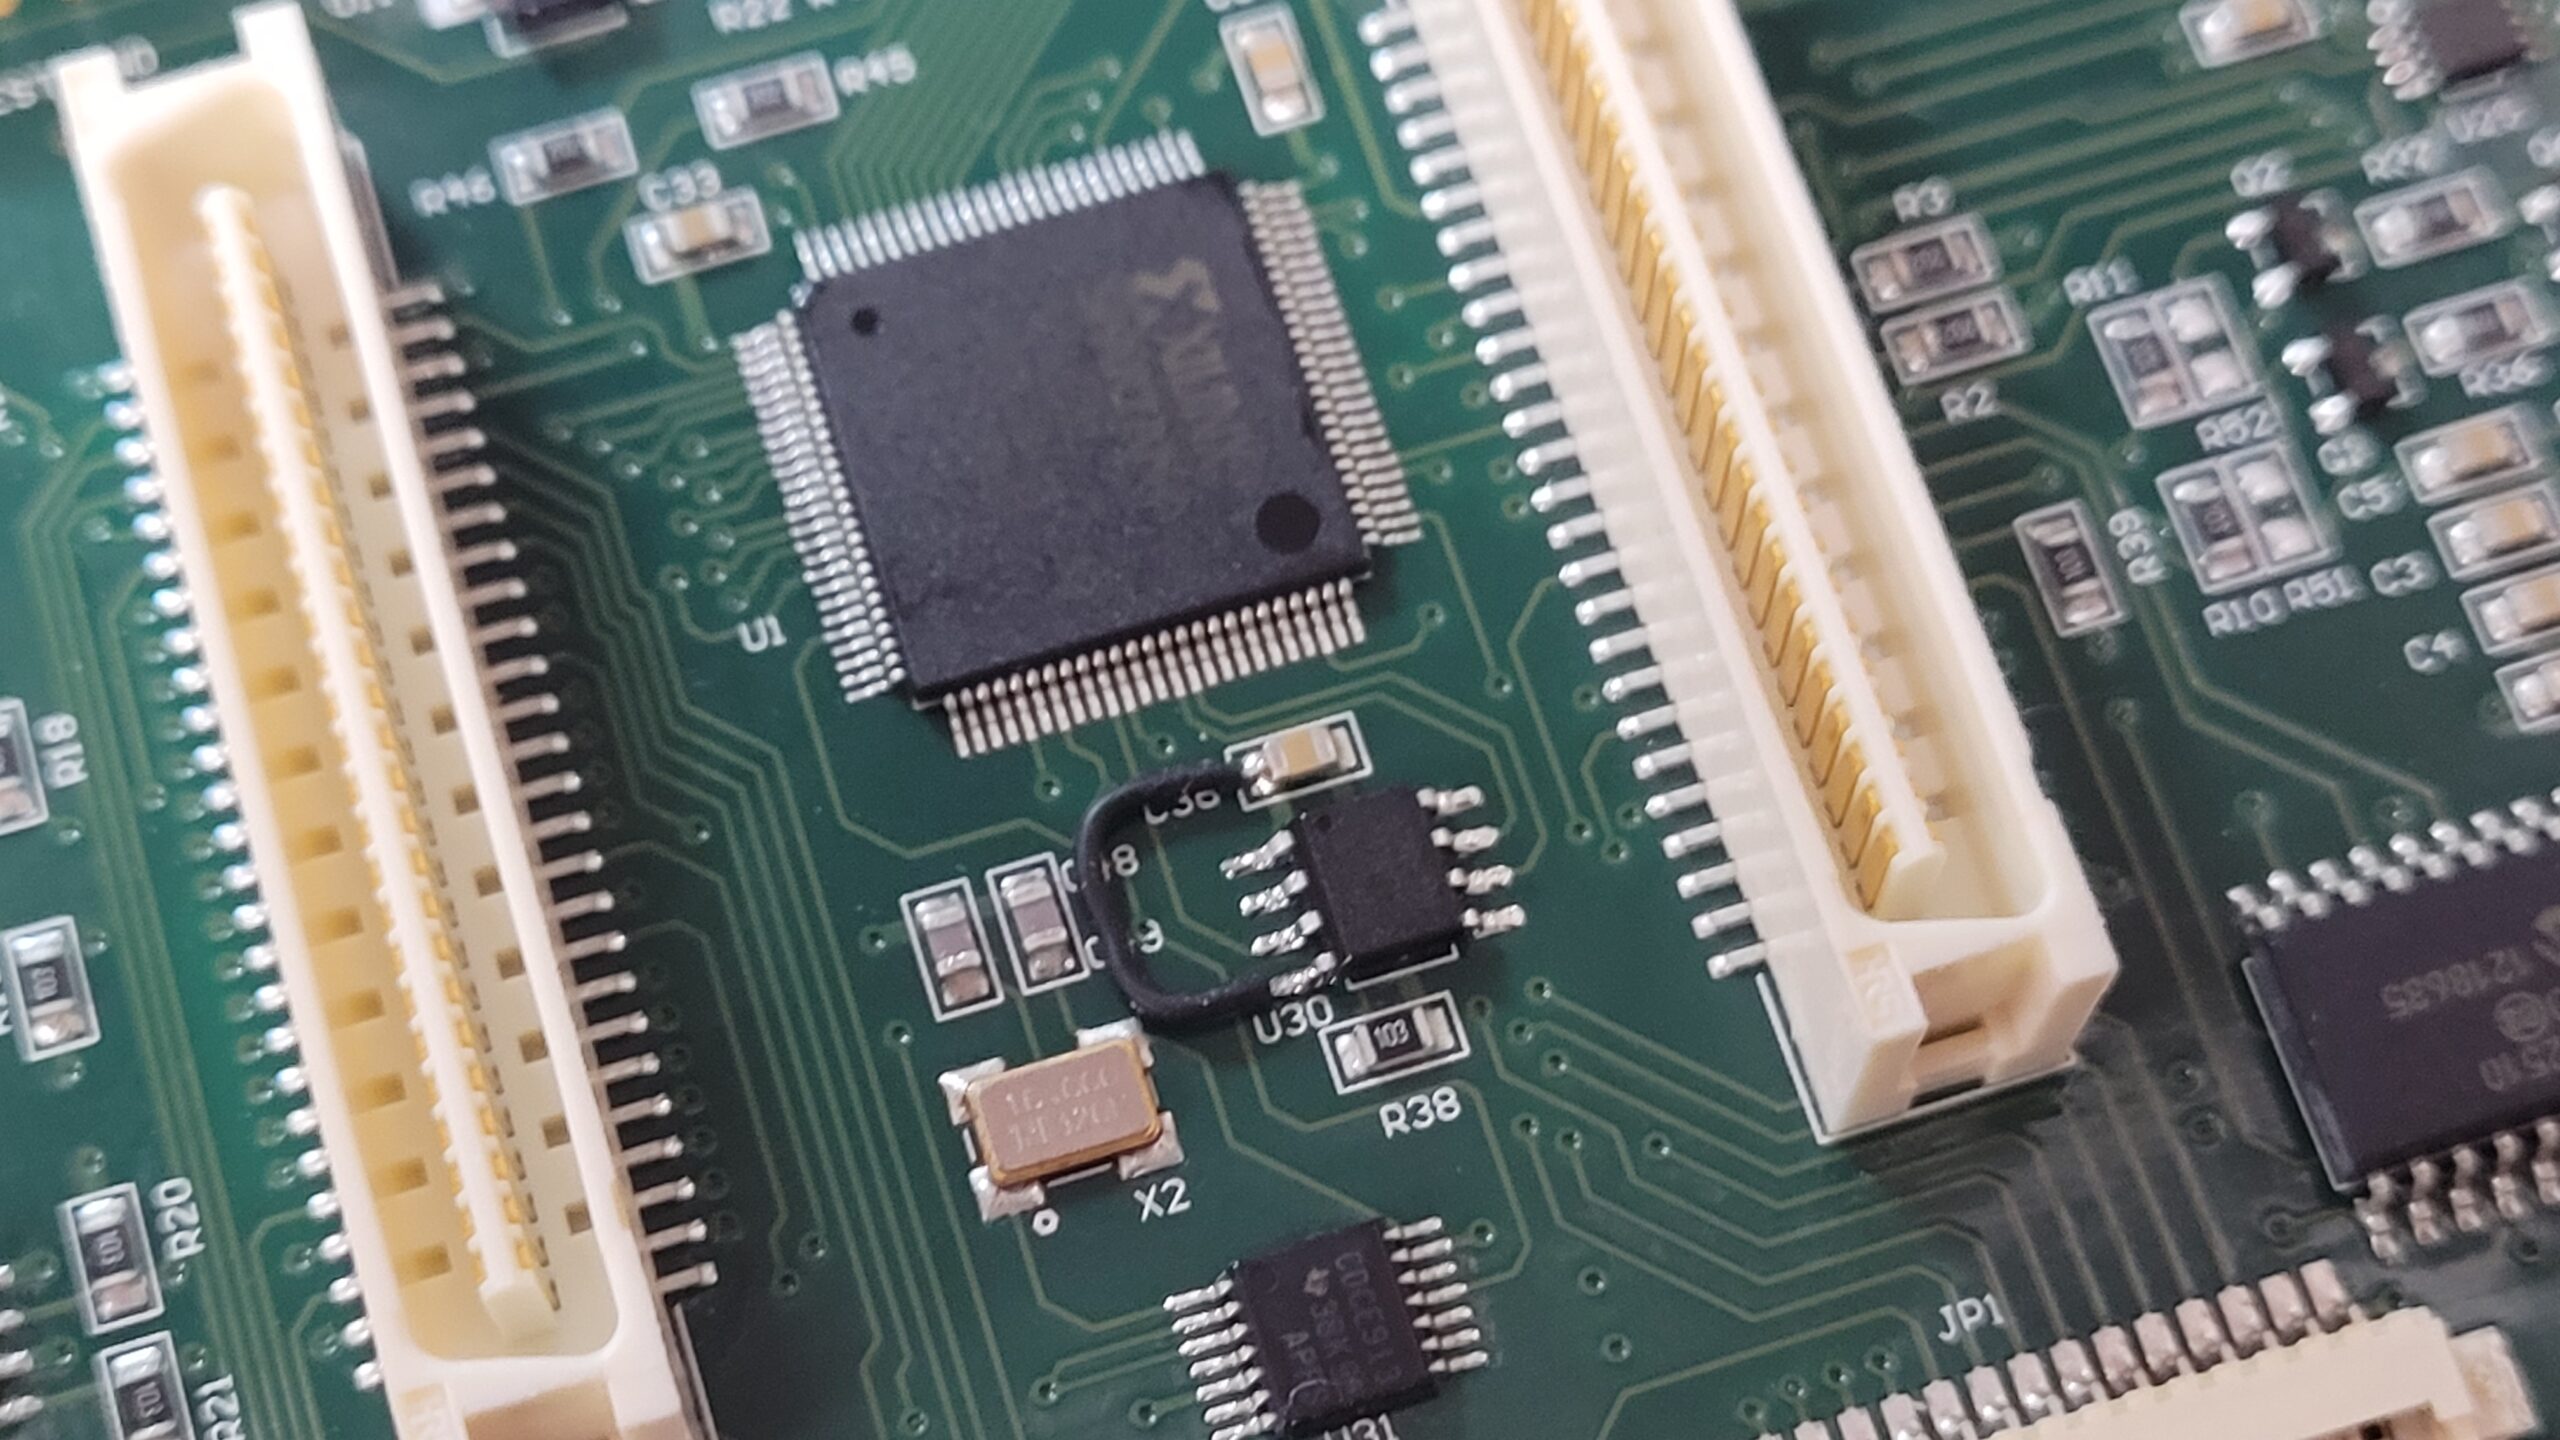
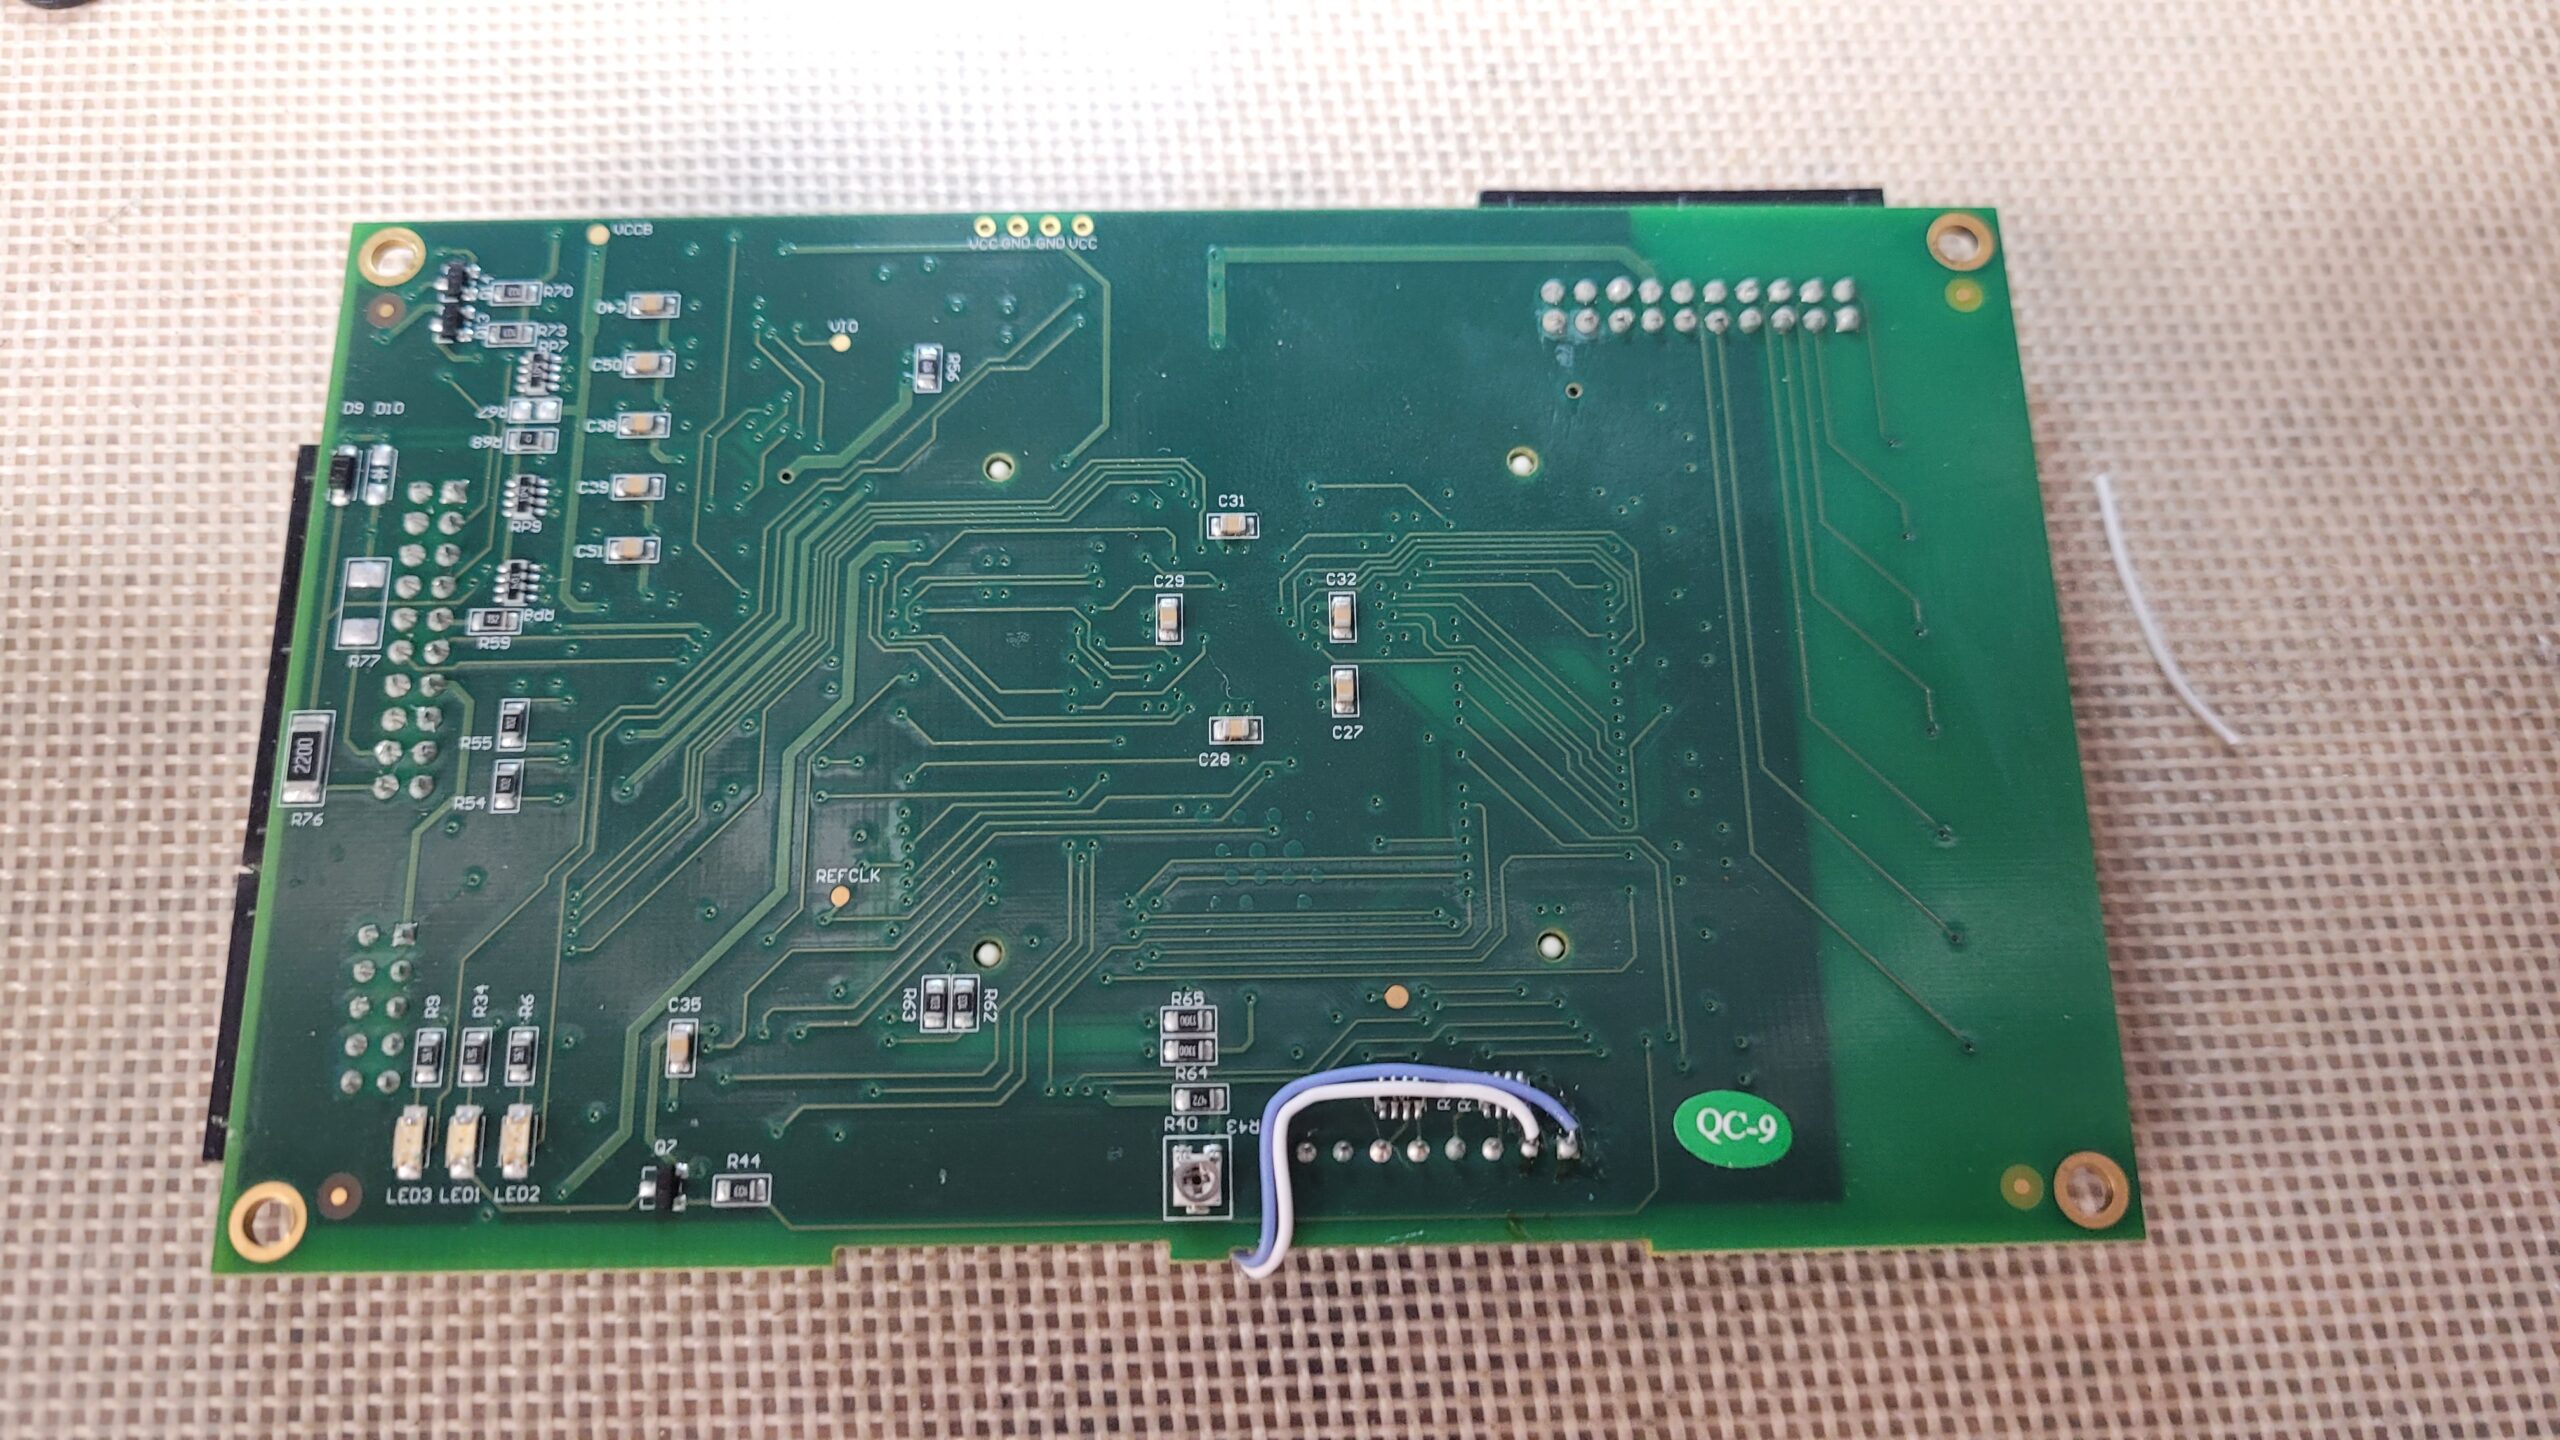
Removed Chip at U30 It is Marked AE801. This Chip Retains the Devices Original Configuration Do Not loose This Chip!
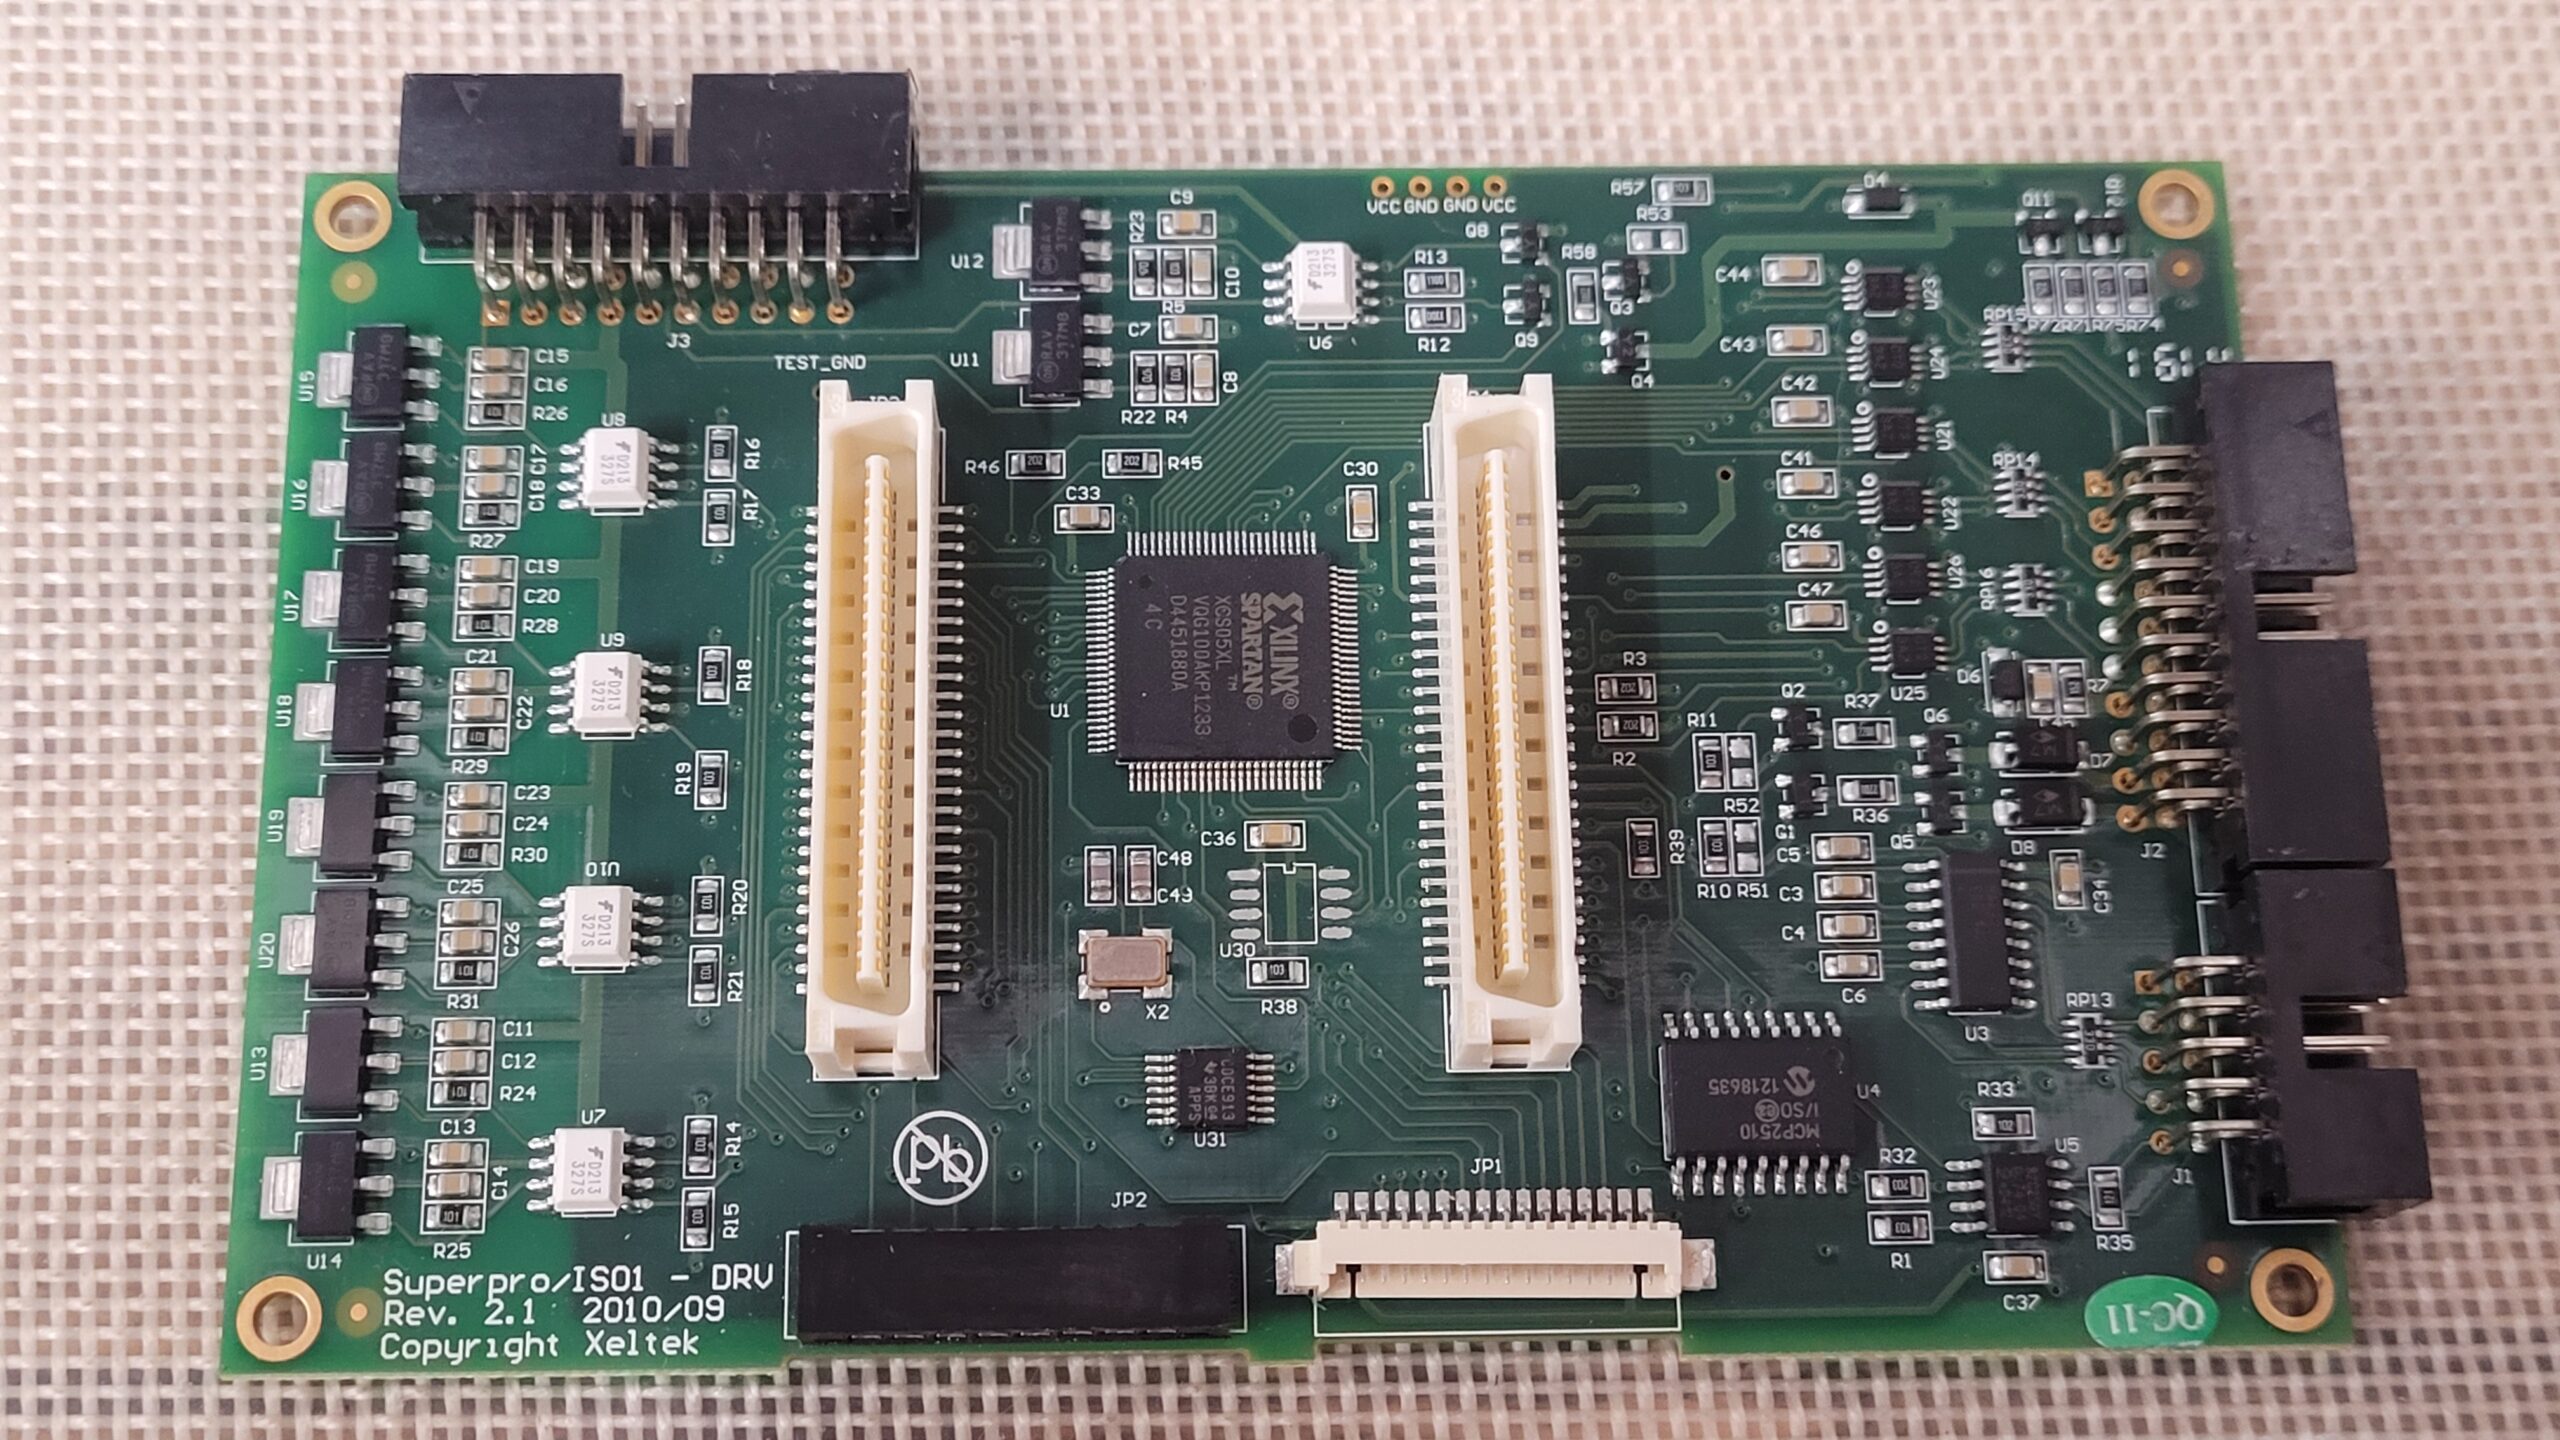

Prep and Install the Replacement Atmel Attiny25 Chip and Solder The Additional Ground Wire that is Required By the Mod Chip.
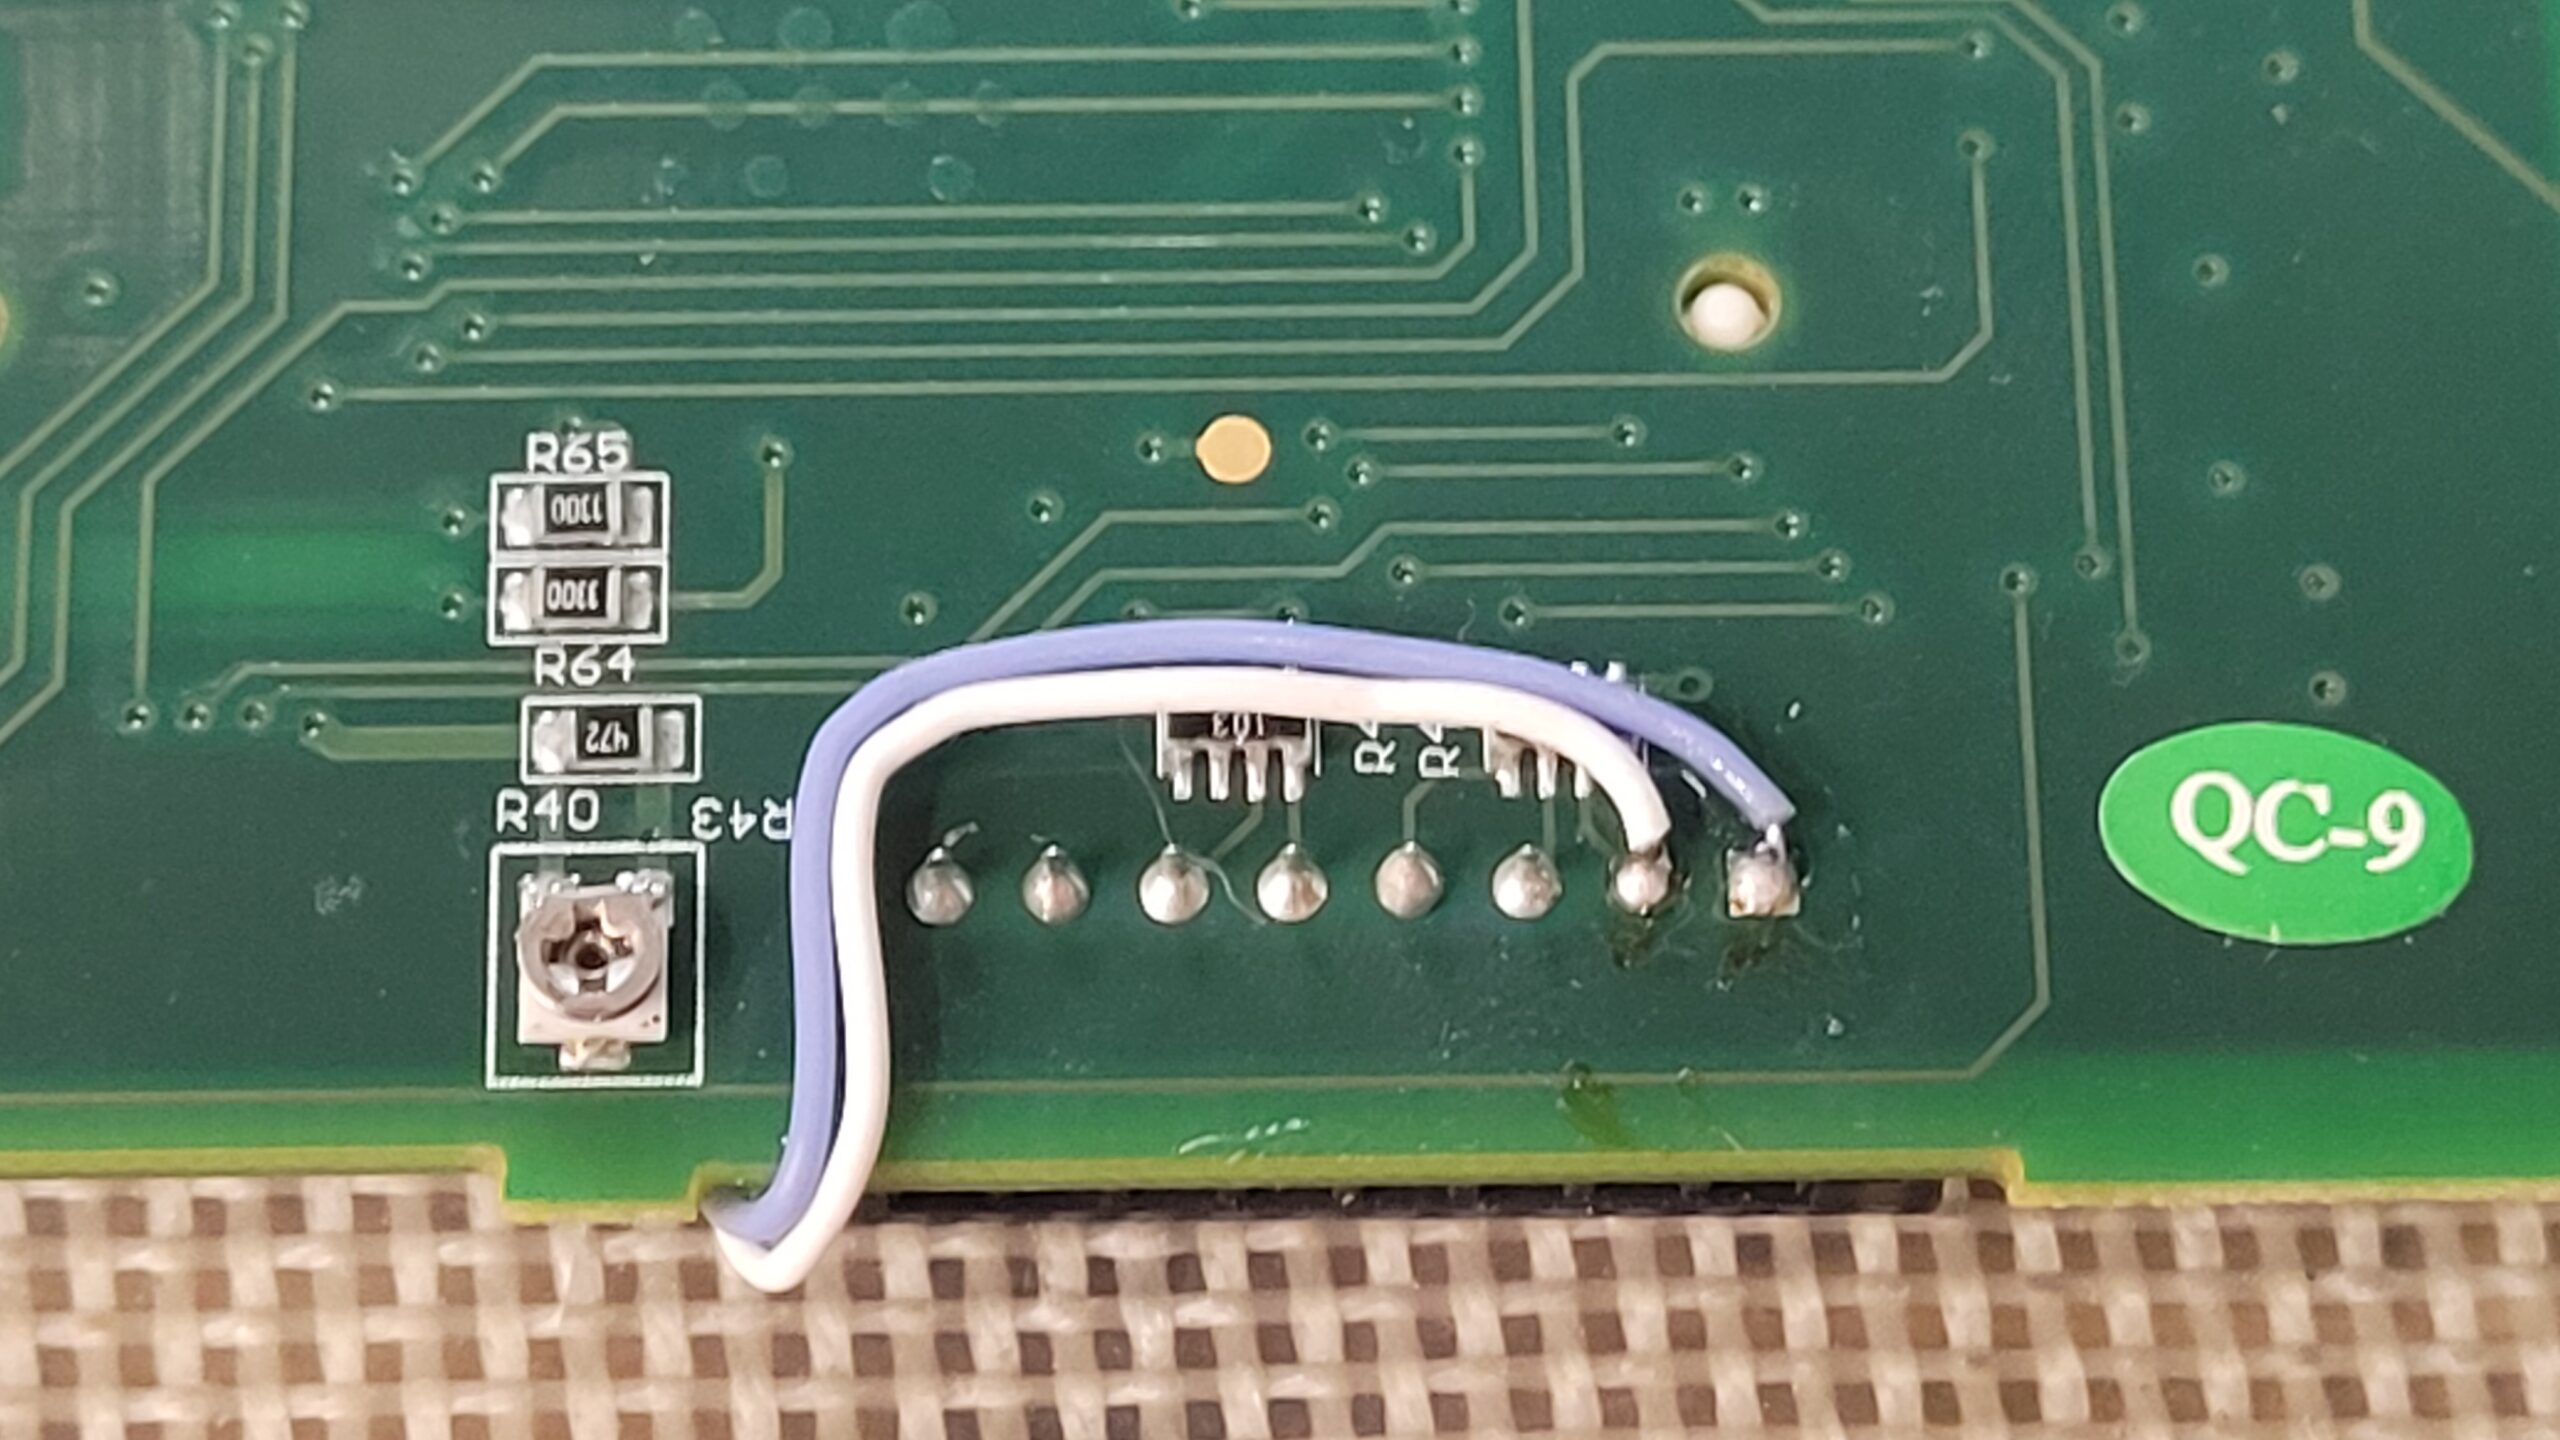
Solder in 2 Wired So you Can Operate the Mod Chip these will be soldered to the front keypad.
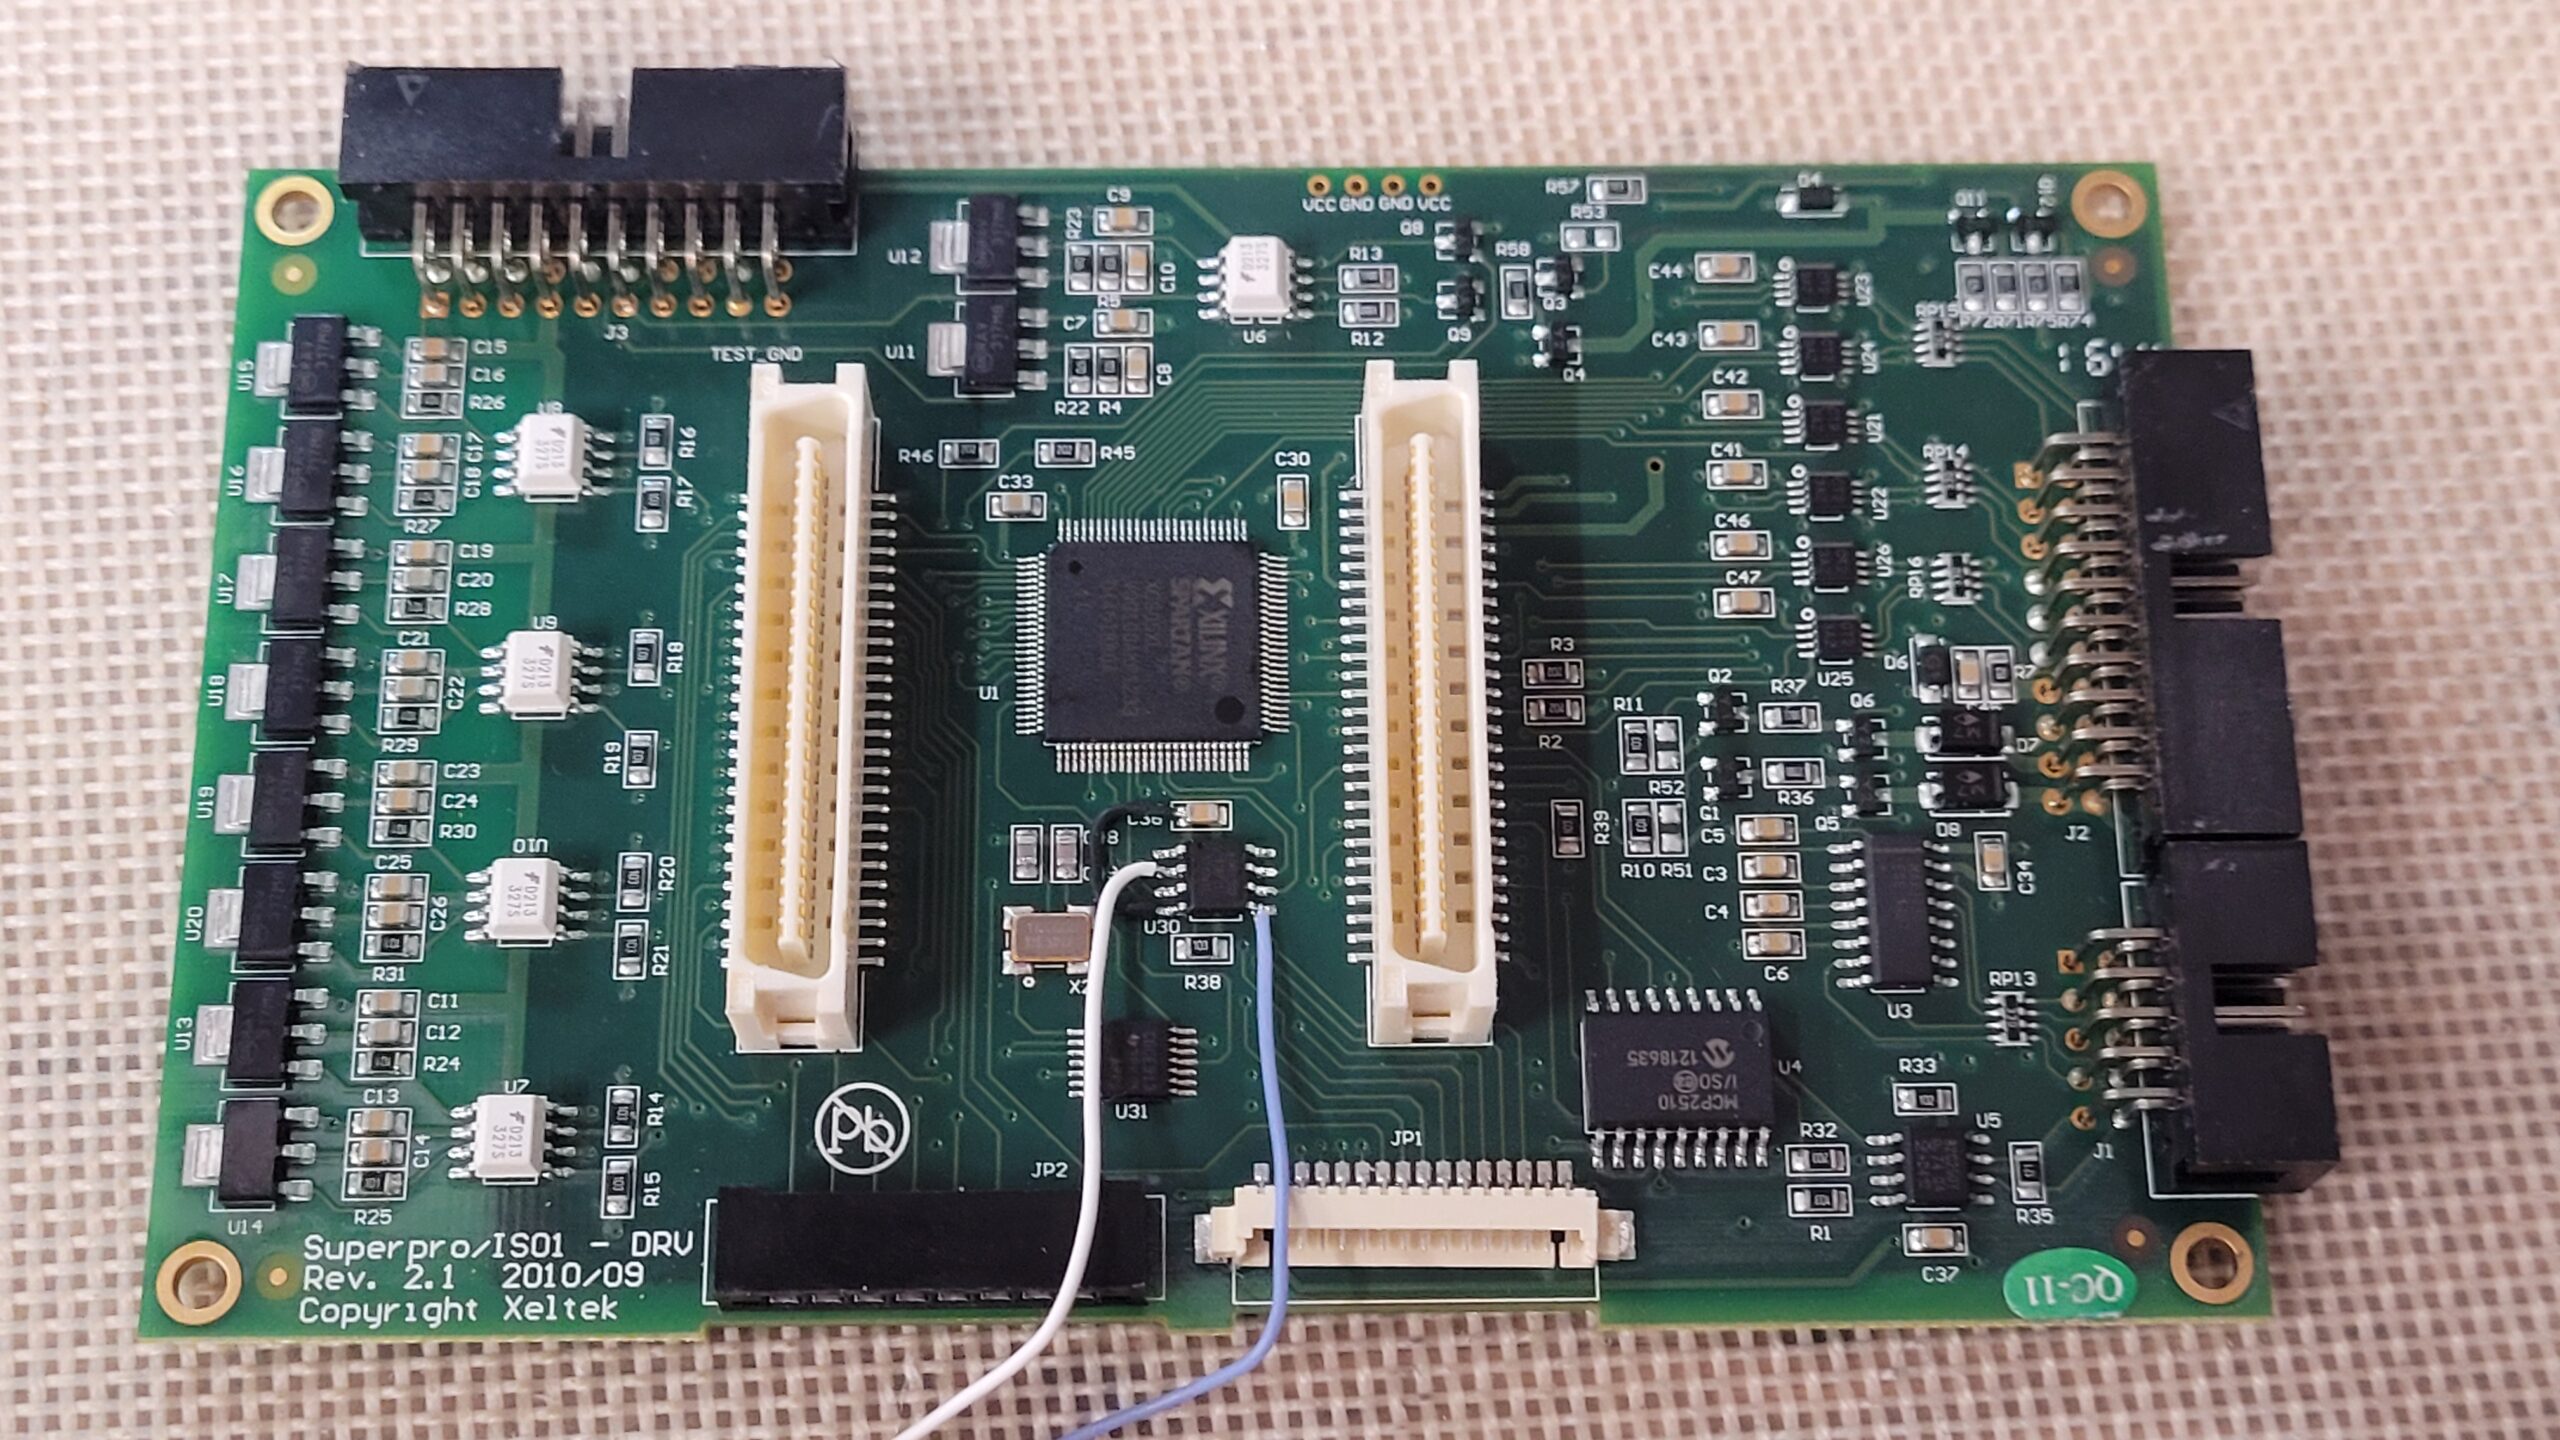
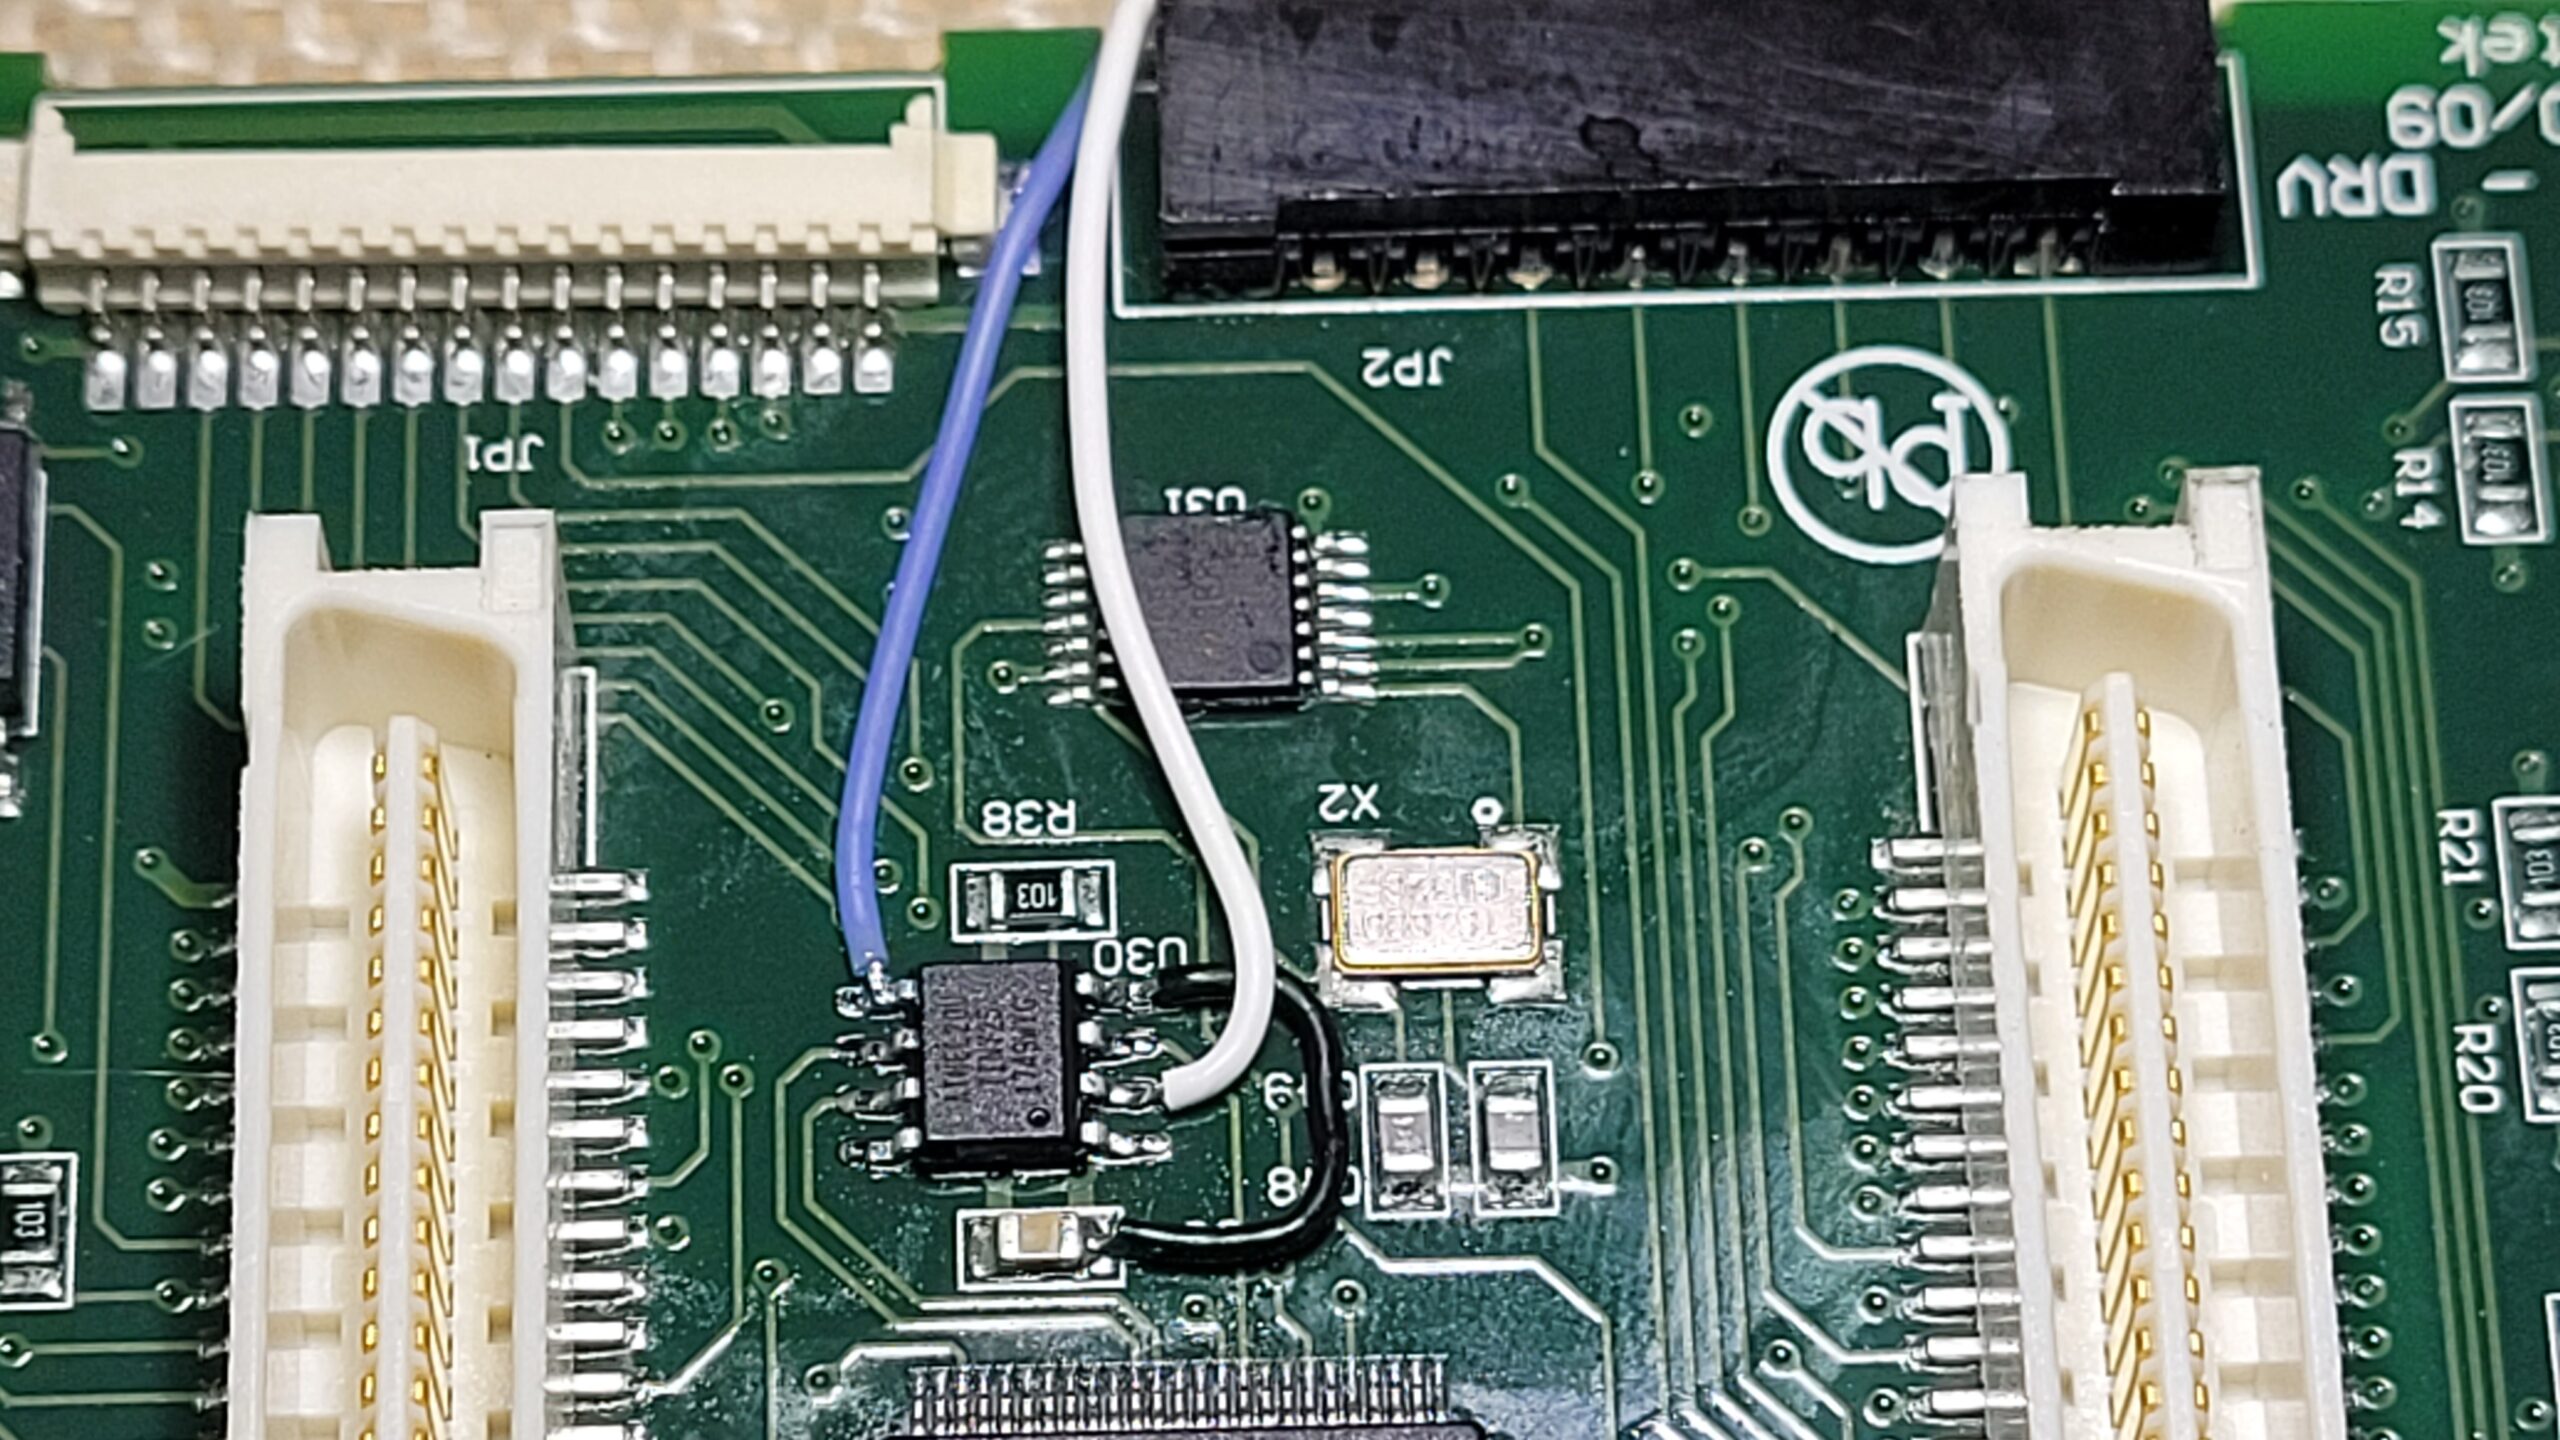
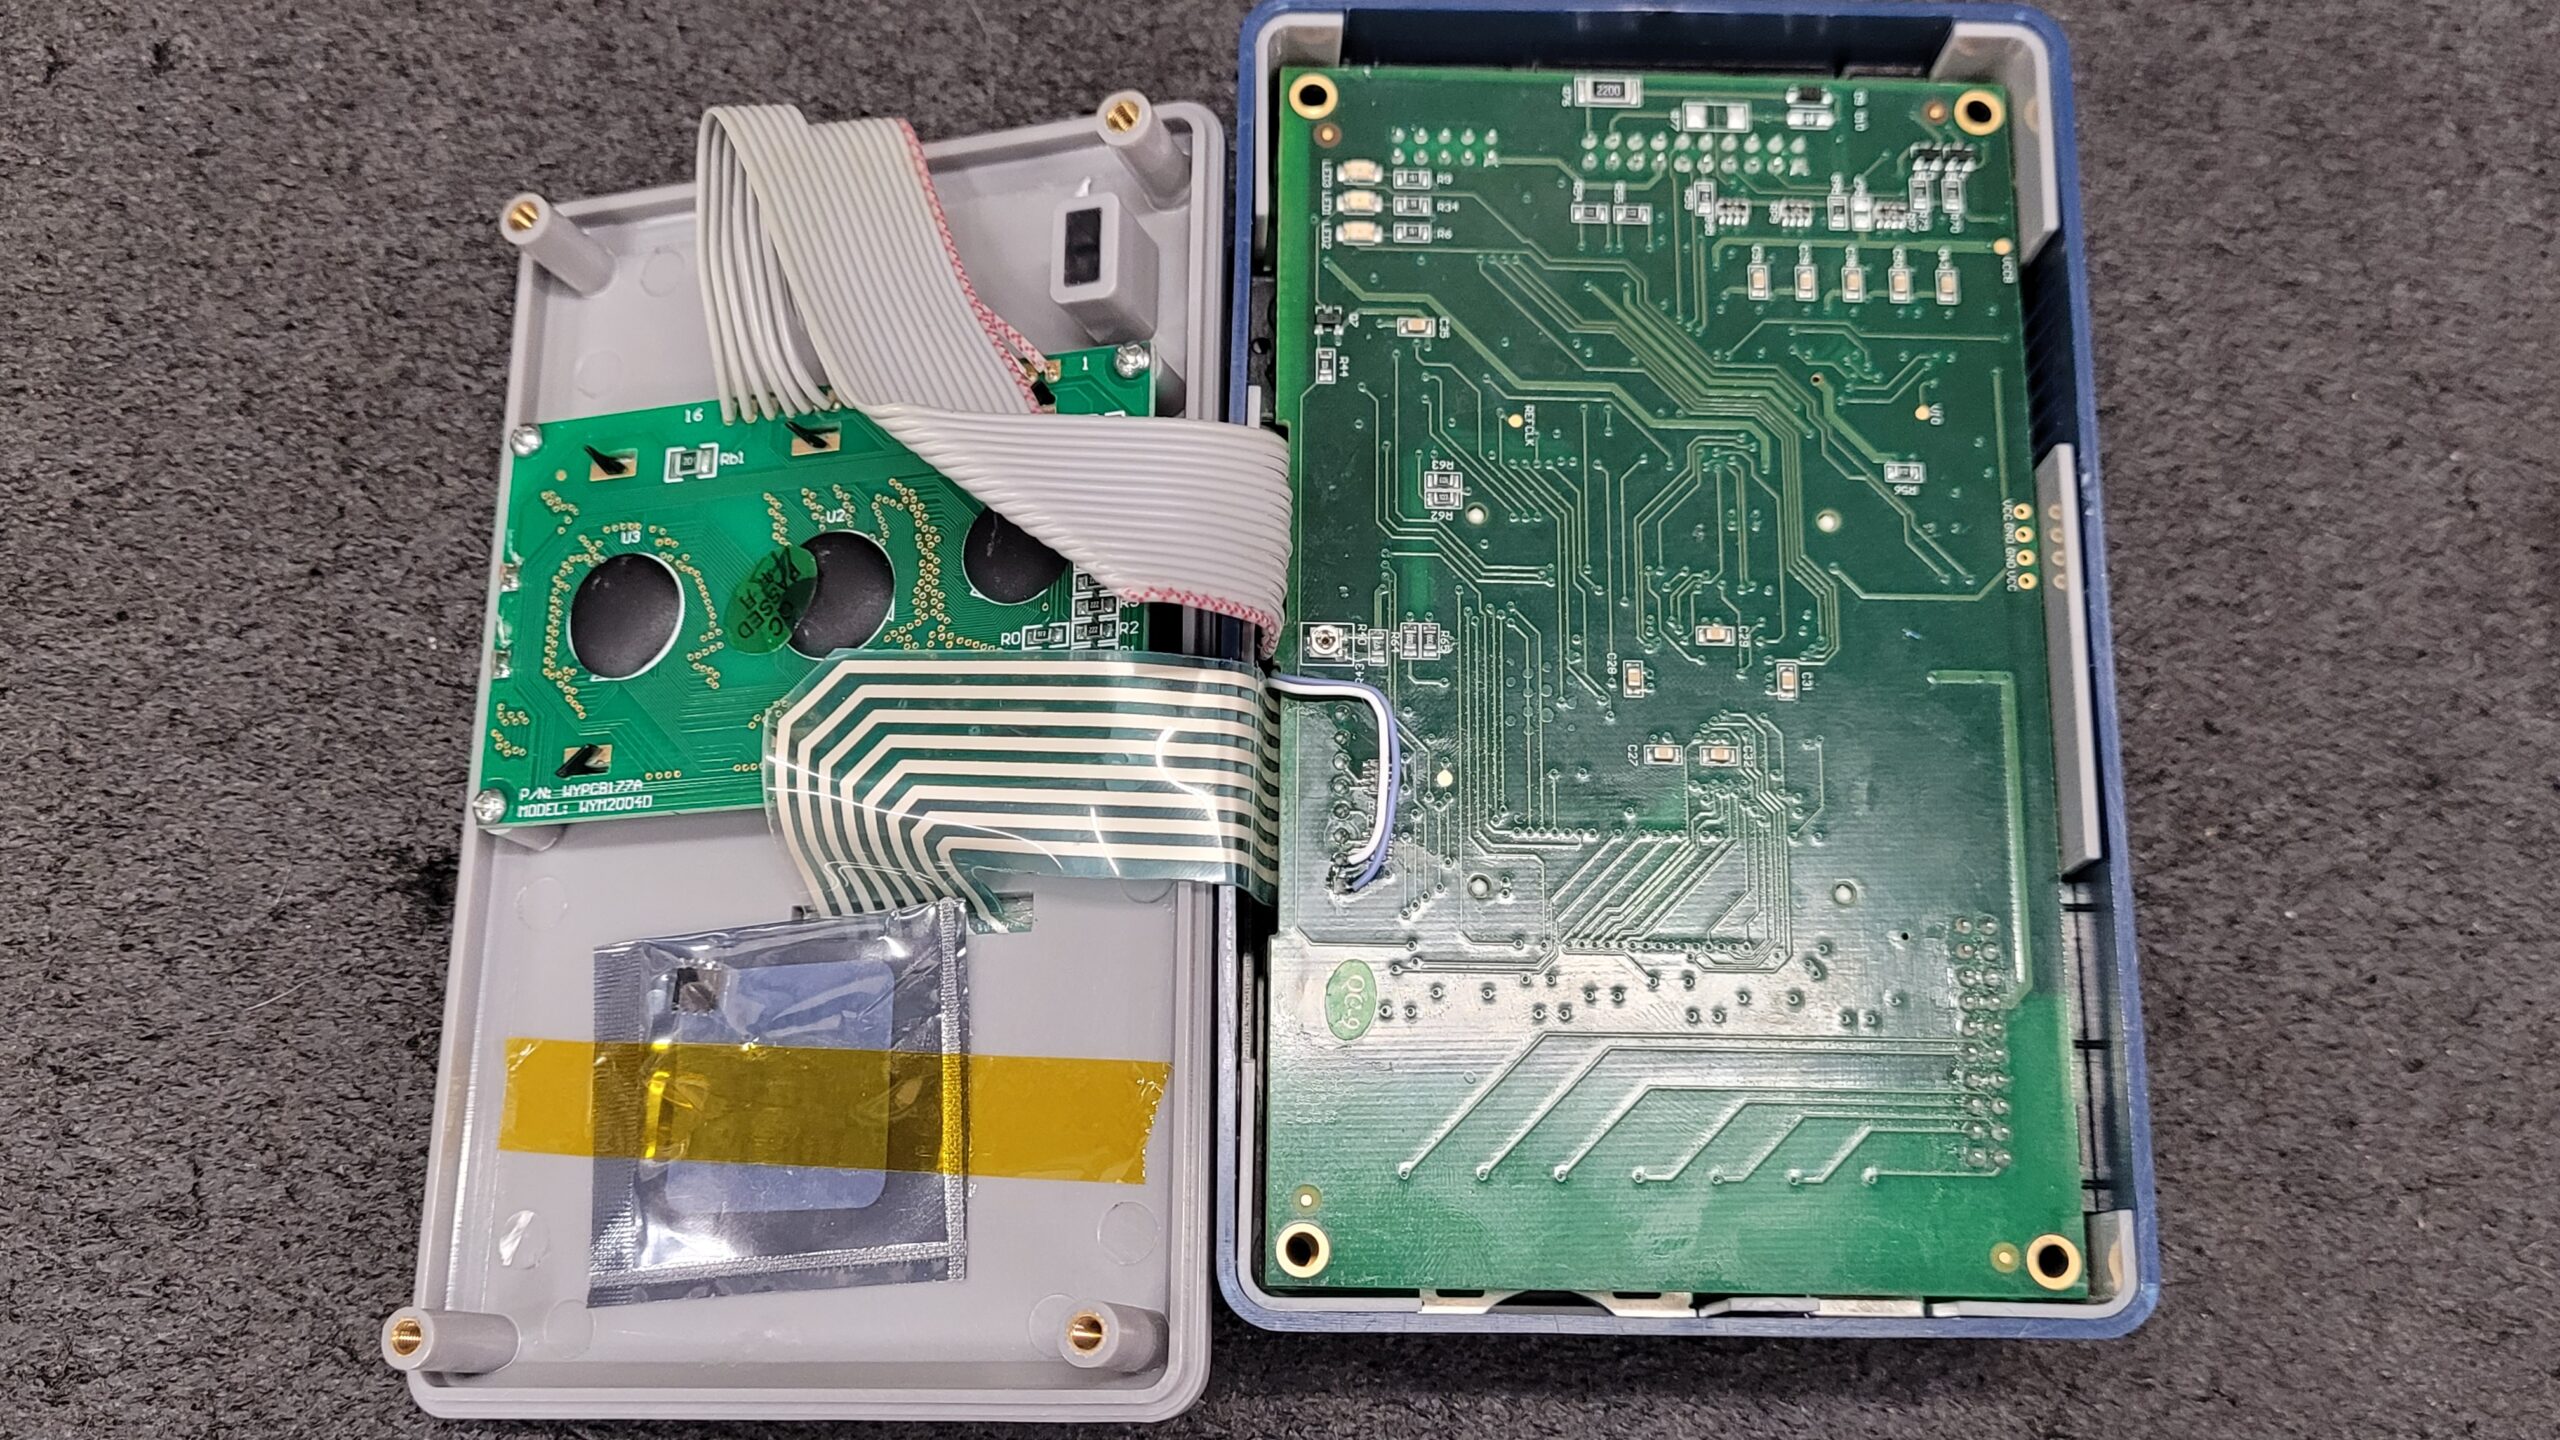
Route Wires To the Other Sside of the Xeltek IS01 Main Board.
Solder the Wires to the Back Side of the Xeltek IS01 Flat Flex Connector.
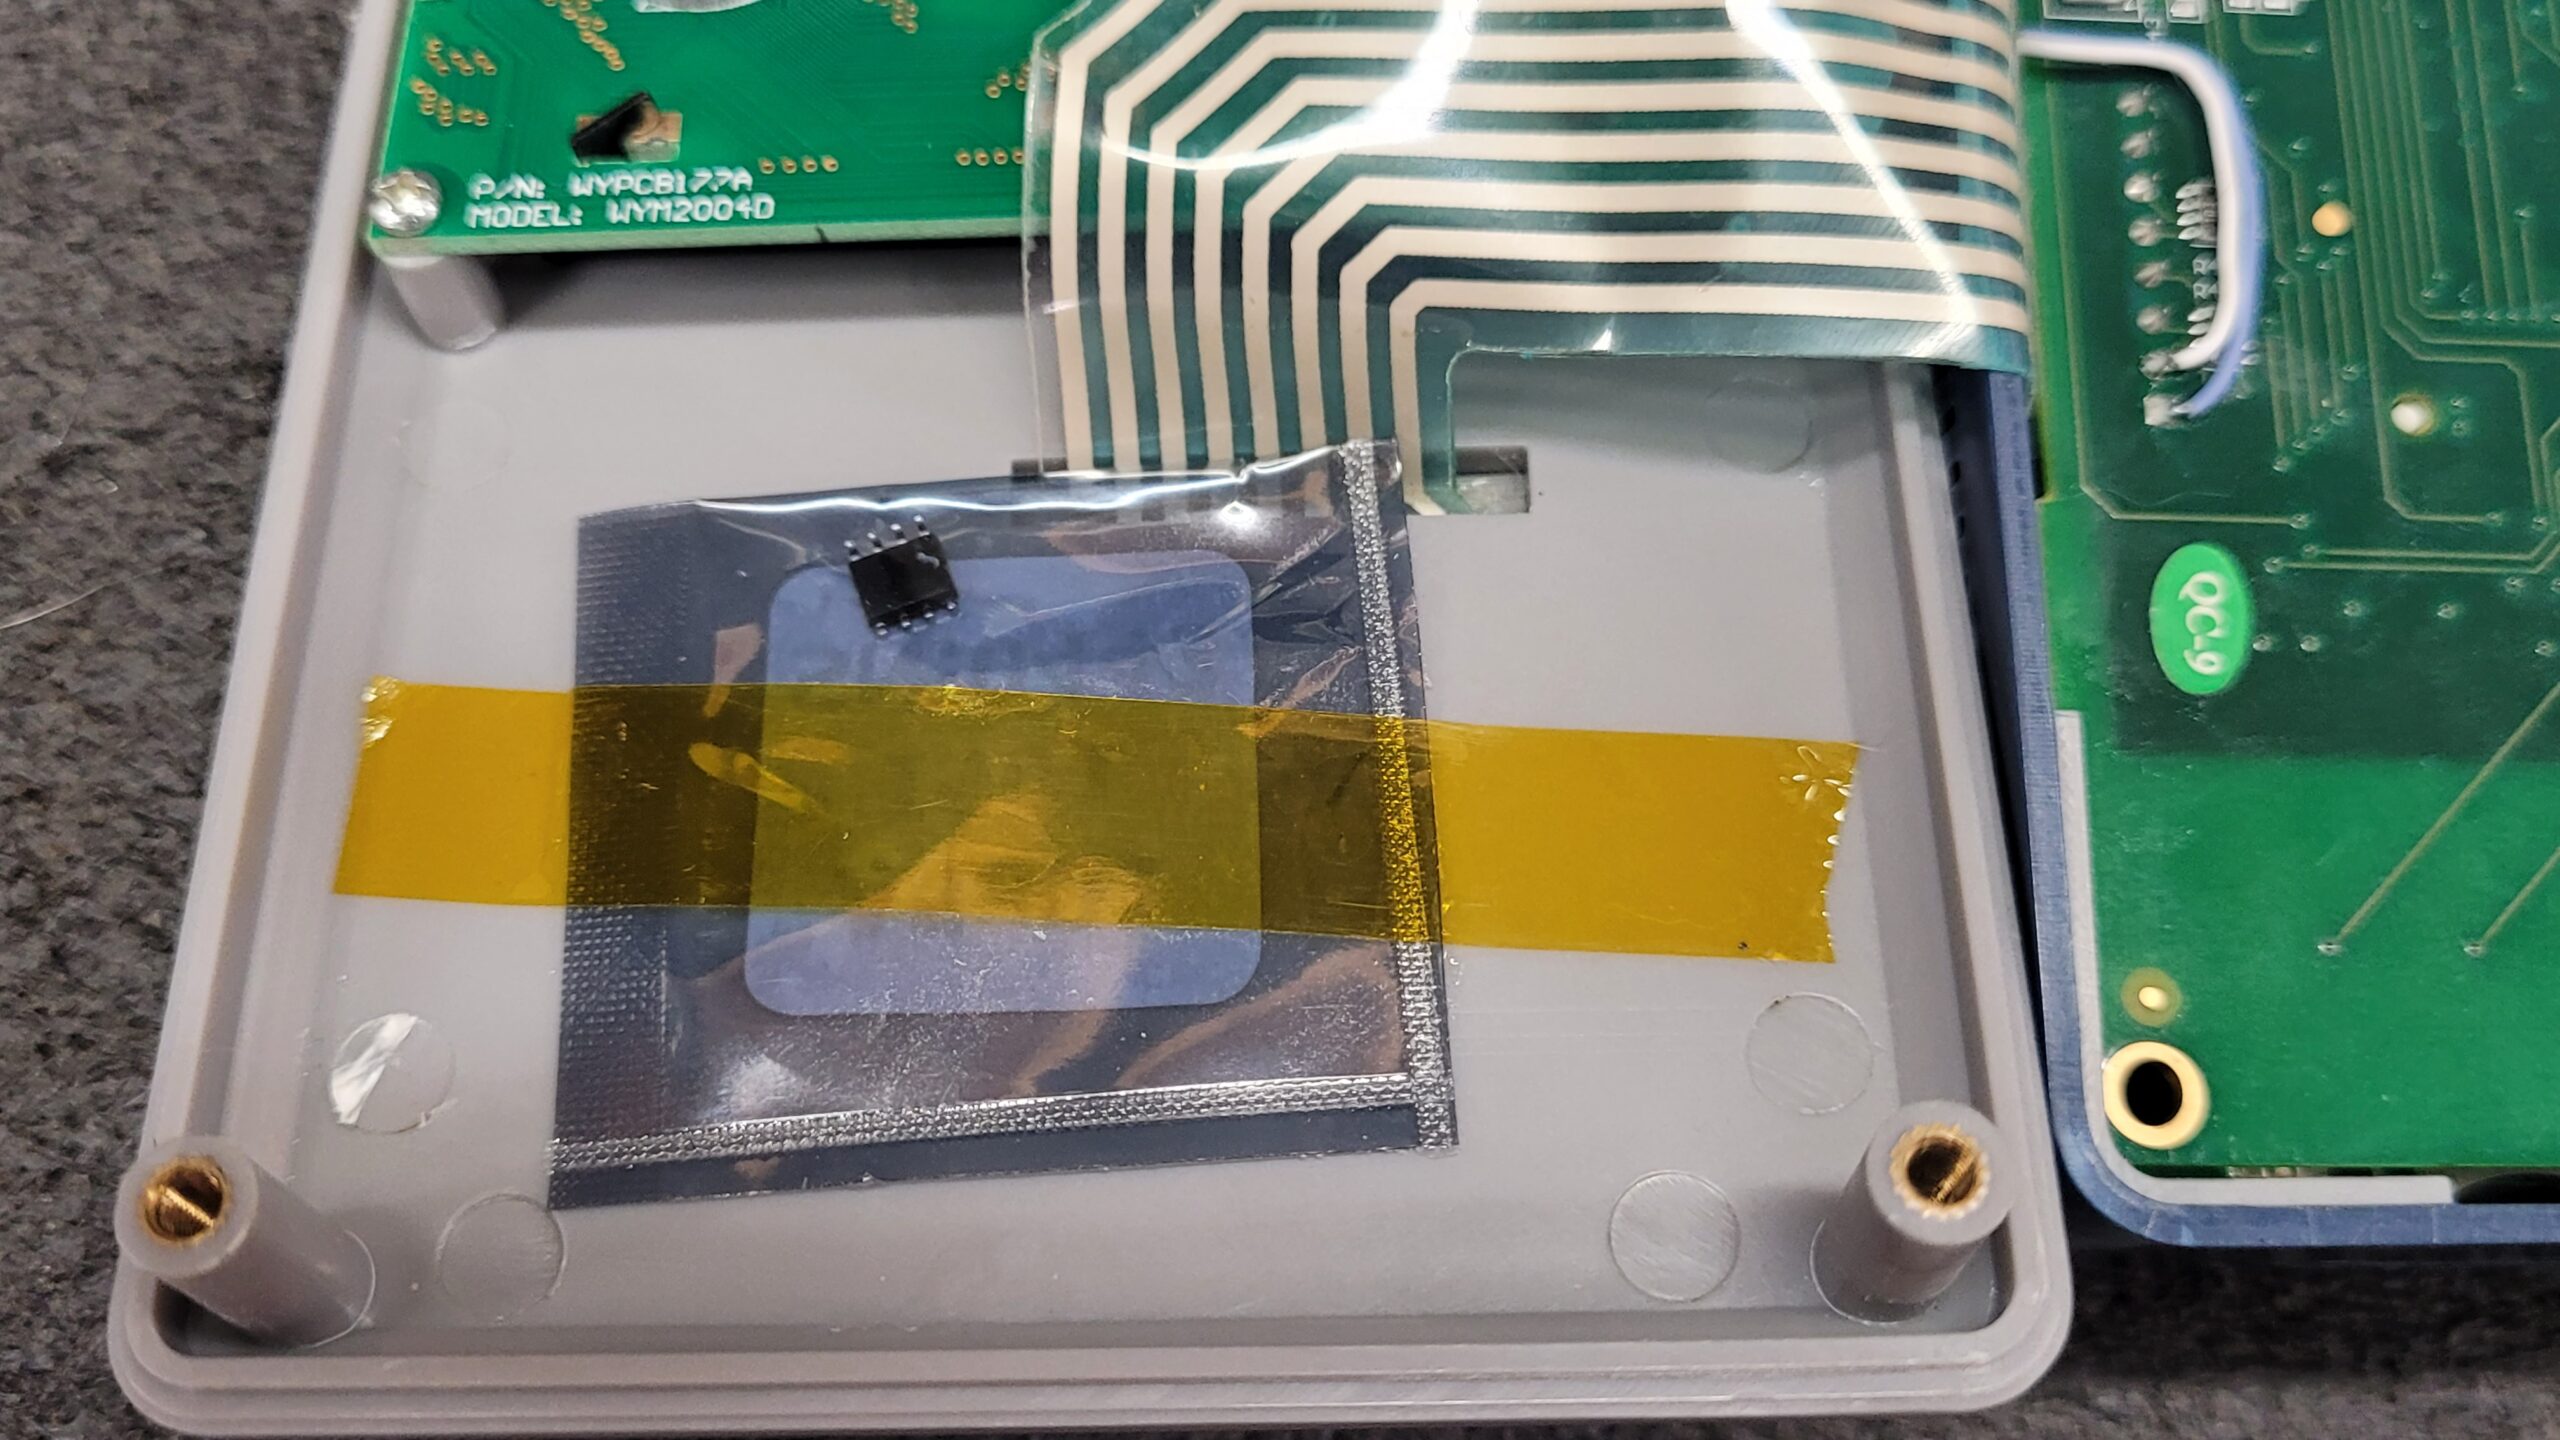
Reassemble and Do Not Forget to Secure your Original Xeltek AR801 Chip to The Top Cover This Way You Will know Where it is at Just in-case the Mod Chip is Blocked By Xeltek so you can revert Your IS01 Back to its Original Configuration.

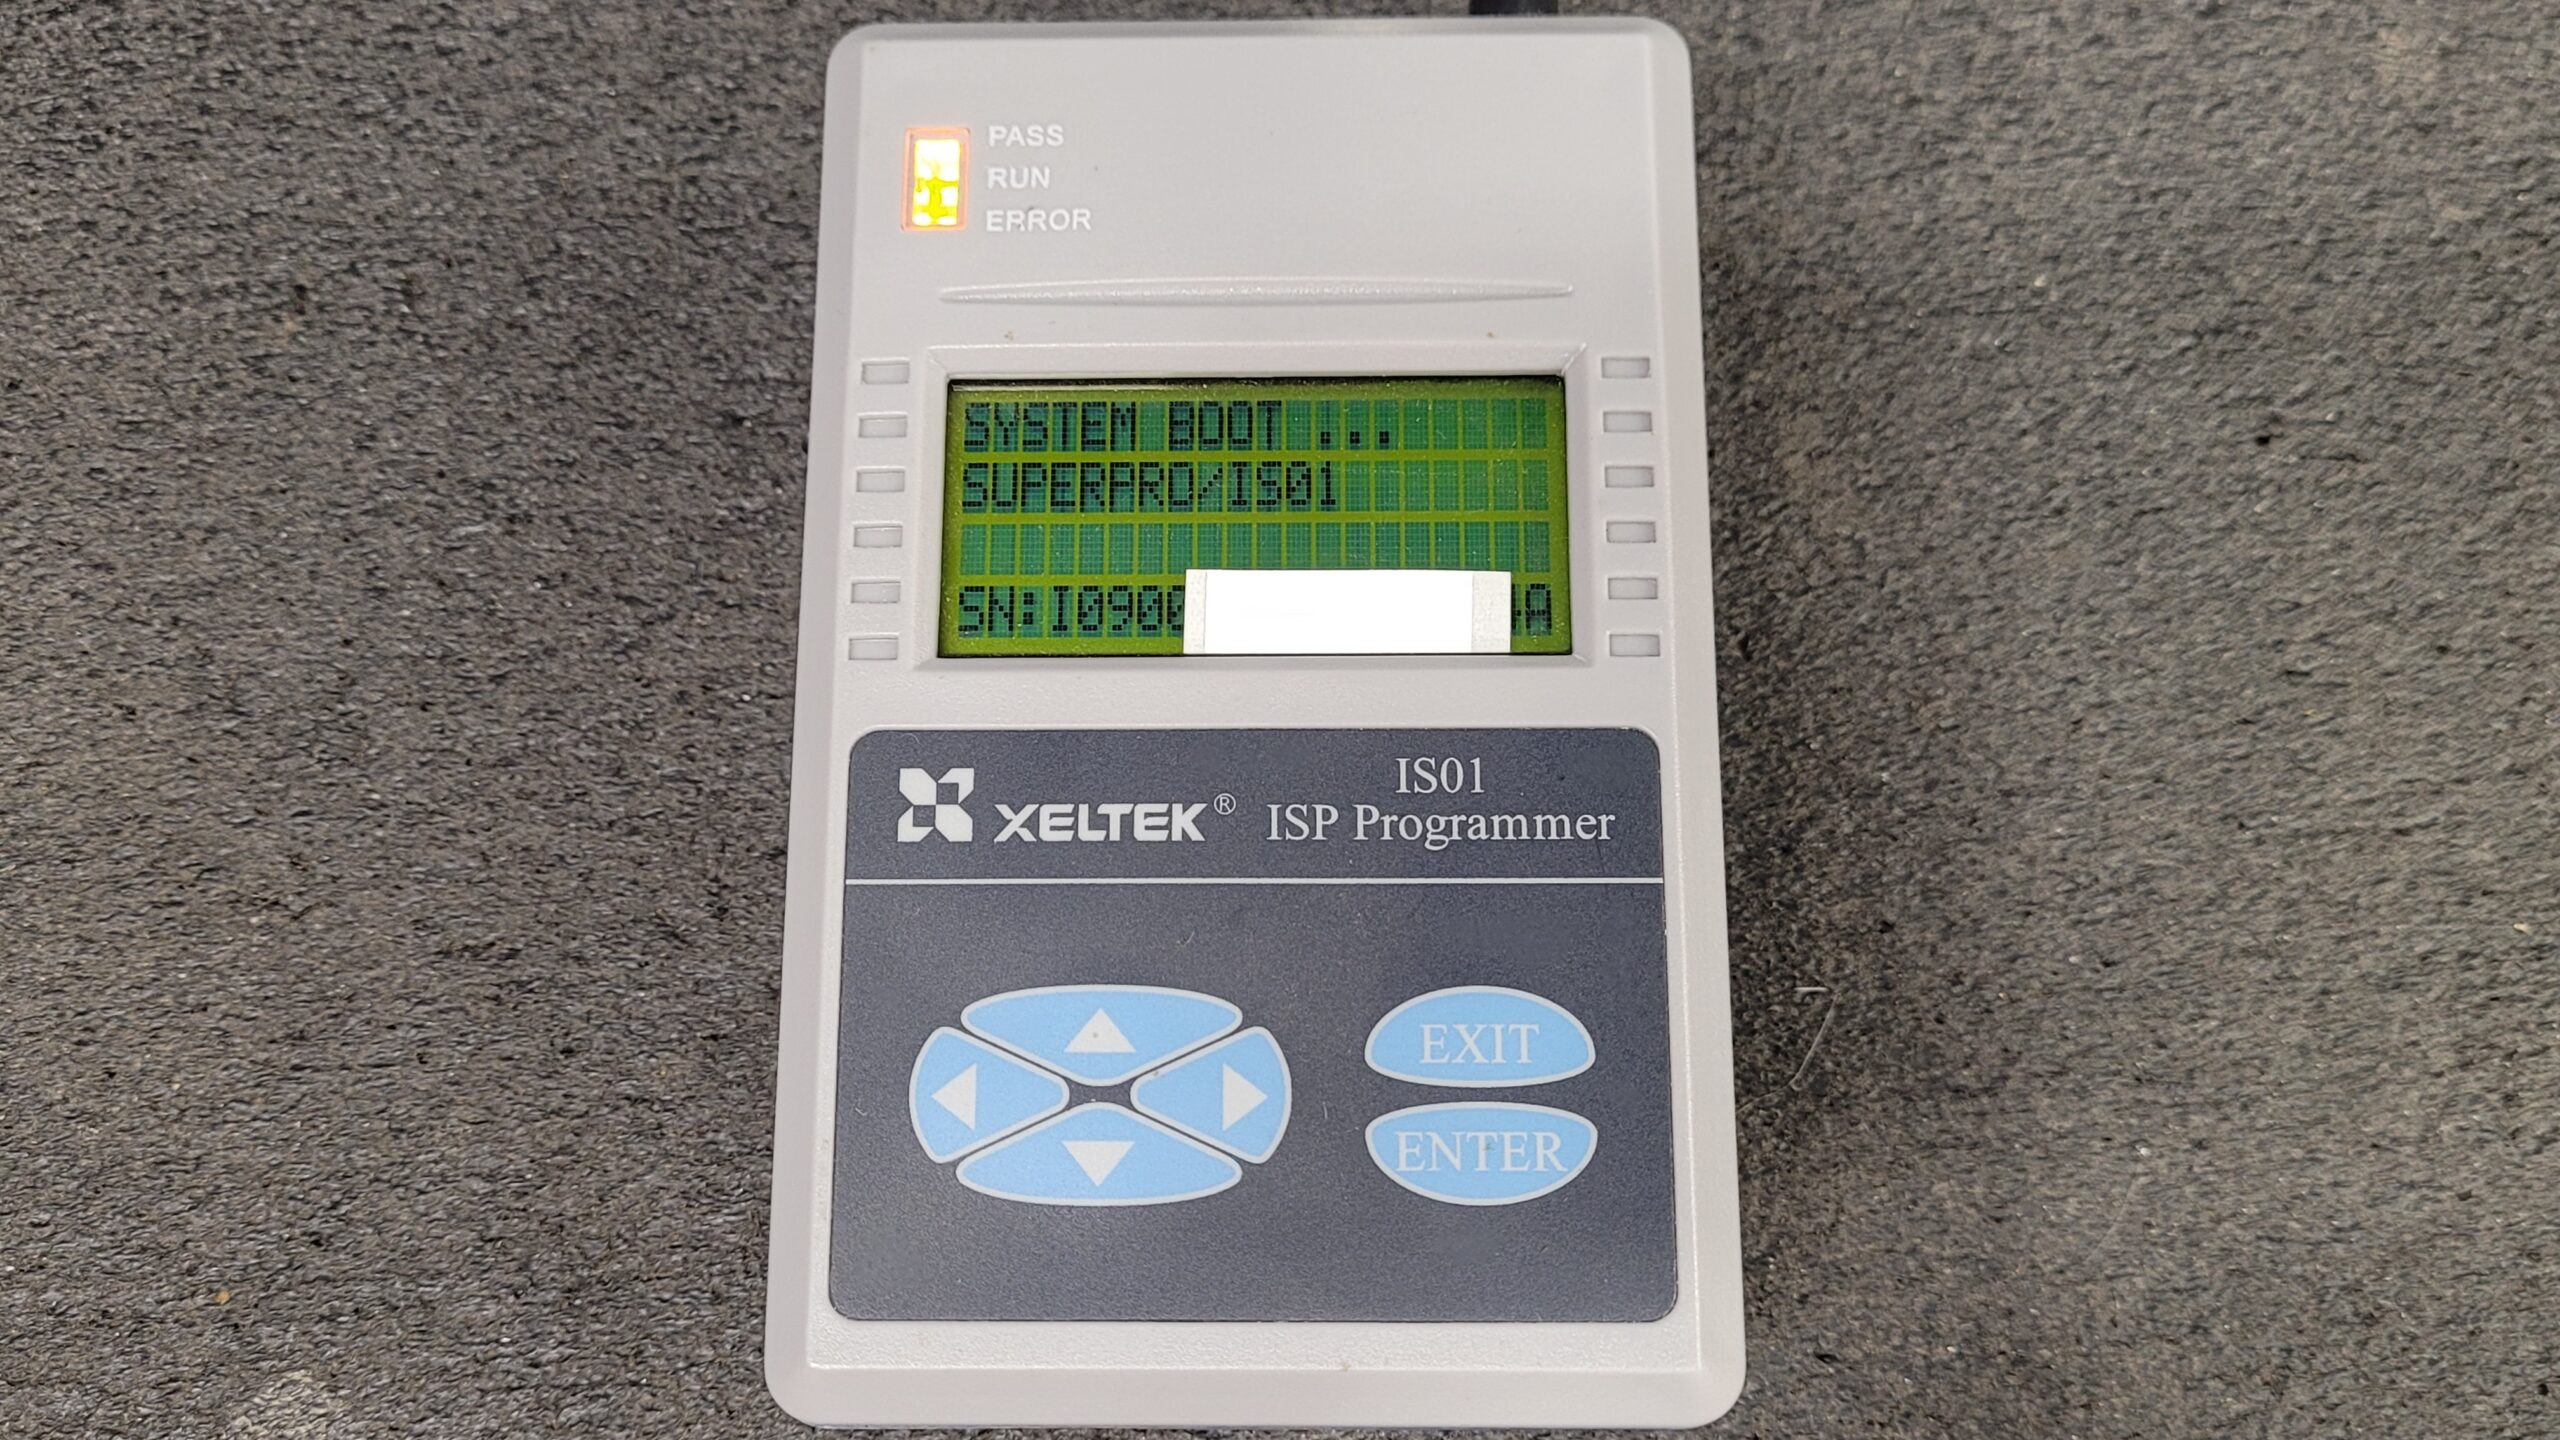
After Reassembly, To Test Your Third Digit Will be a 9 SN:1090XXXX Hold the Down Key and Your 3rd Digit will go to a SN:1000XXXX Normal Mode.
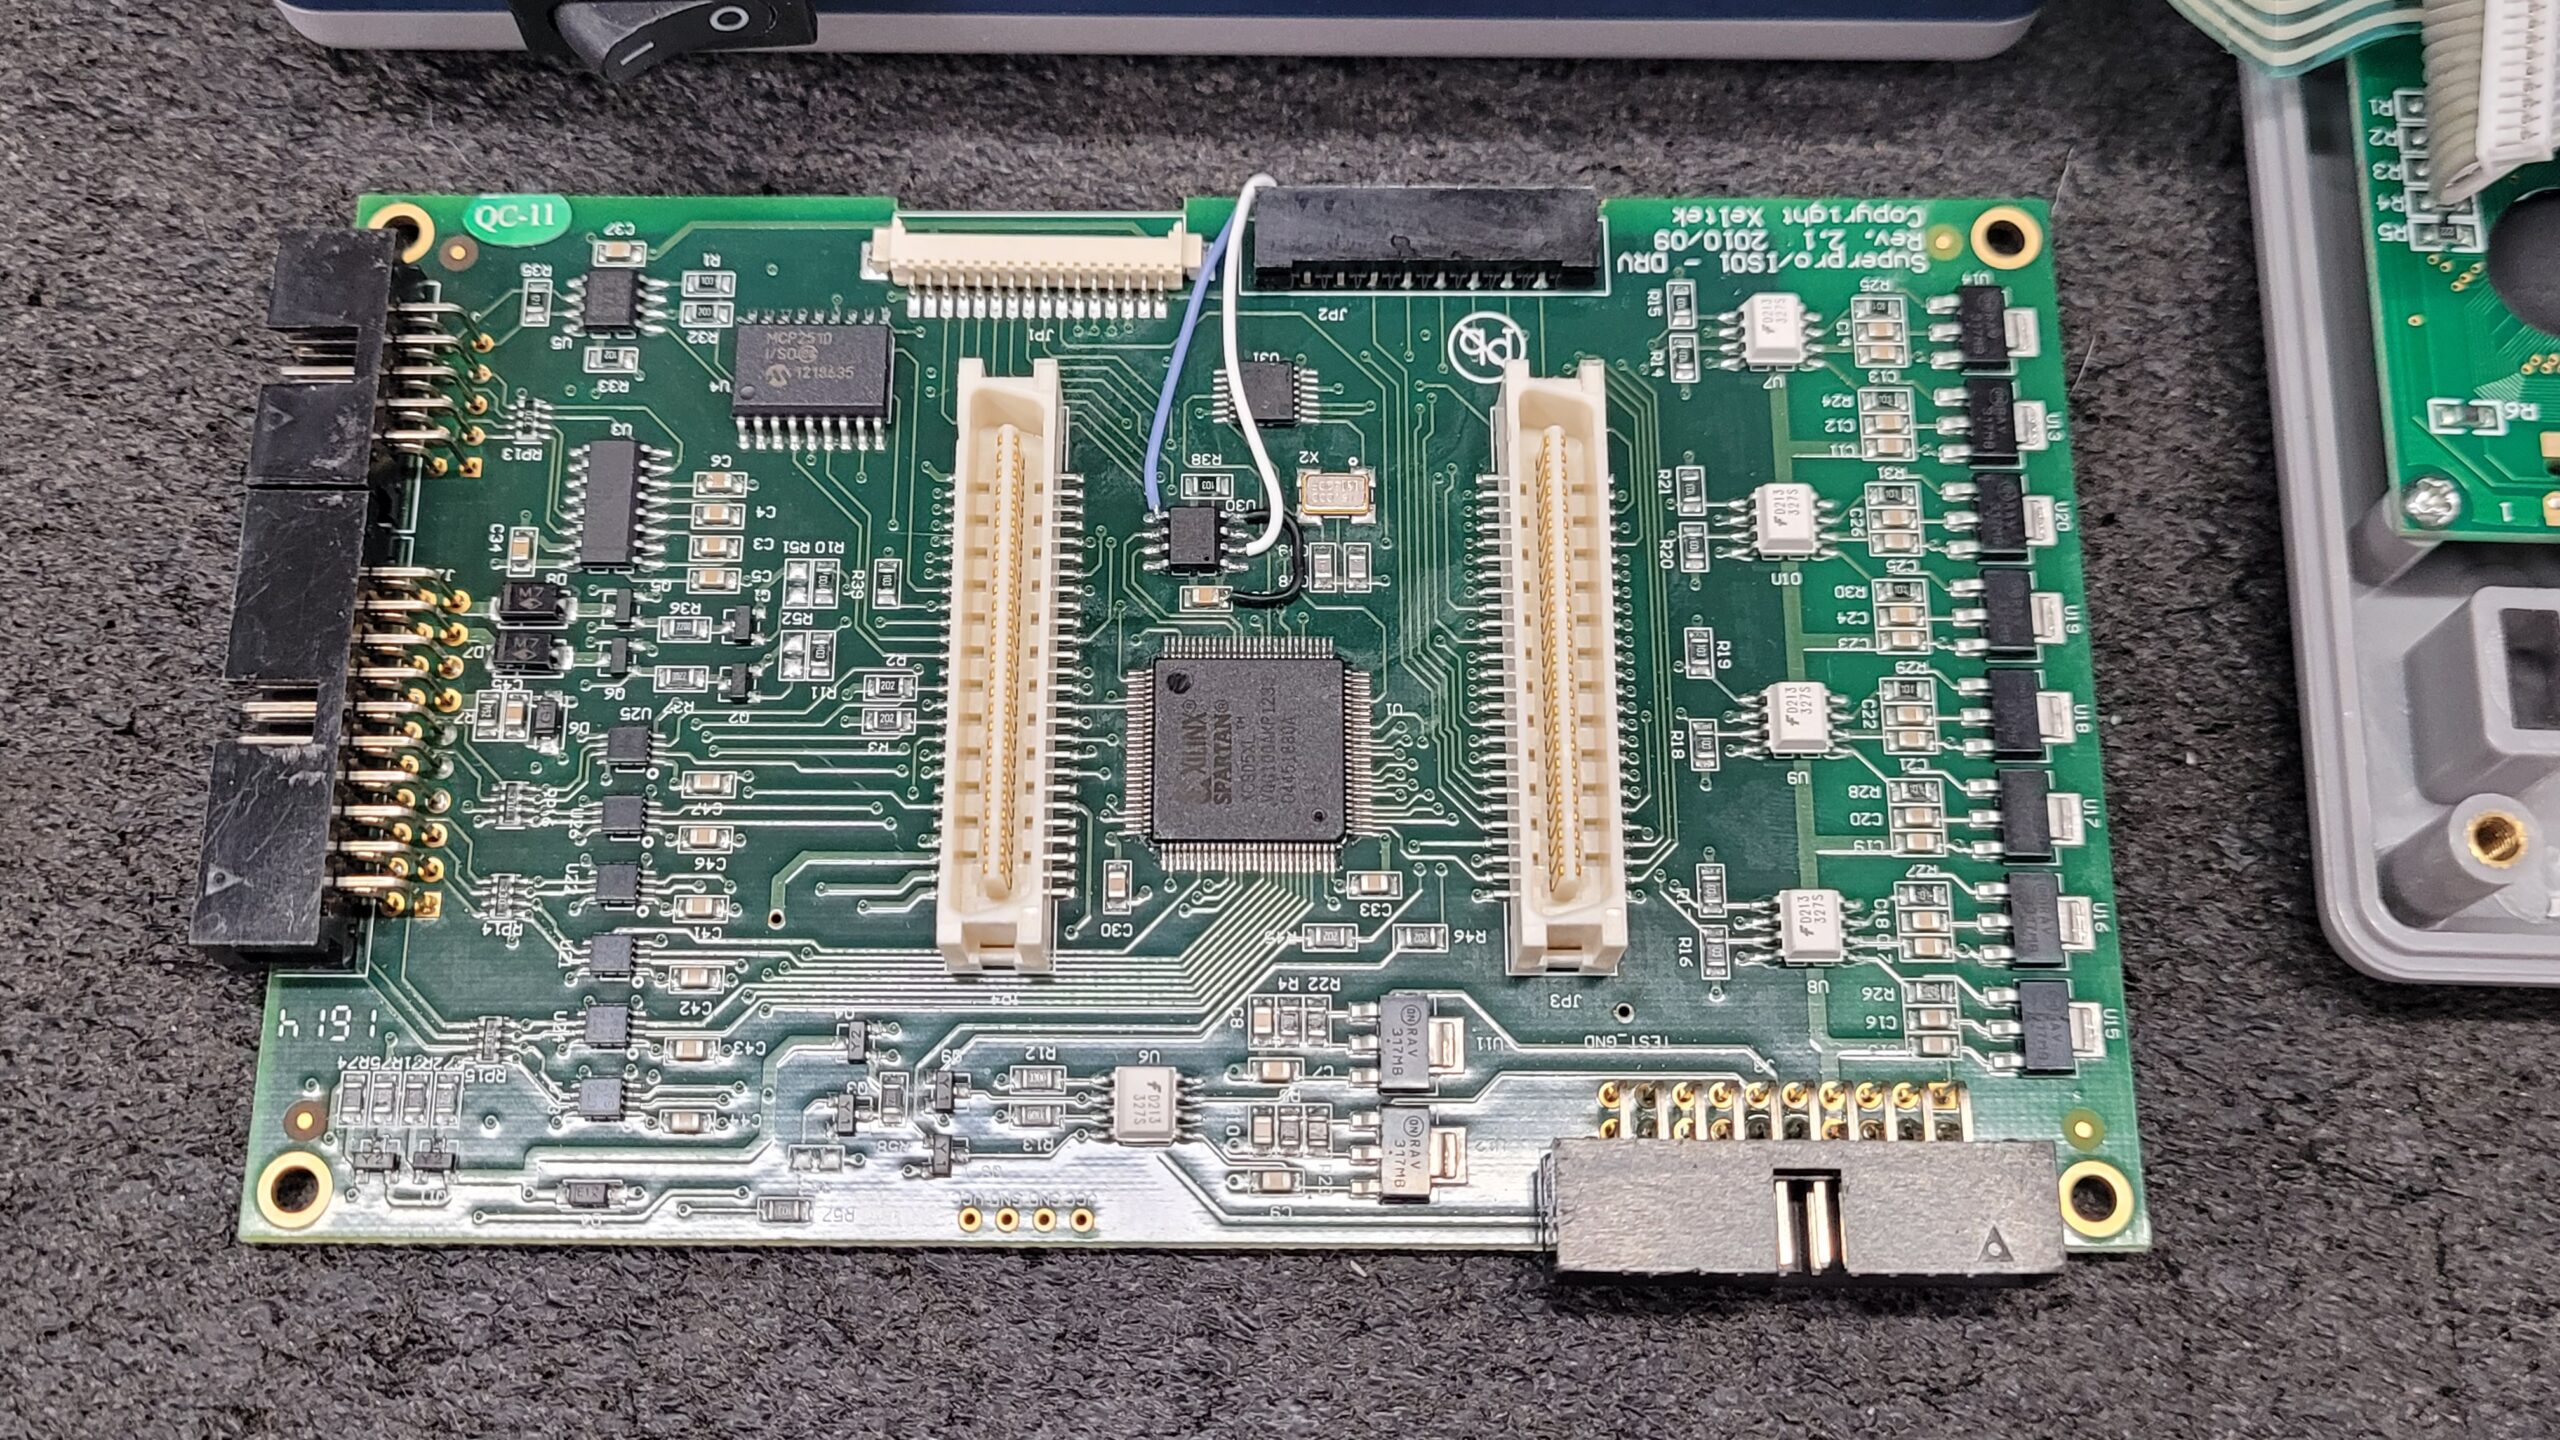
The Enhancement Is Installed In to the IS01 Verify Operation. Works Perfectly!
Last Updated on September 26, 2024 by Steven Rhine