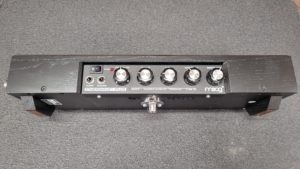
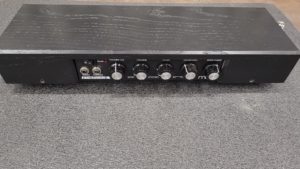
Something Interesting and Blog Worthy came thru the shop this weekend. This is One of the oddest geekiest Musical Instruments I have seen.. Yes, it’s A Theremin!! This Post will be about the Moog Etherwave PLUS Theremin ESPE01 Module Install in to this unit!!
I Had the Opportunity To Install an ESPE01 Module in to their Moog Etherwave Plus Theremin For a Customer.
Very Interesting Musical Instrument Worthy of Some photos!
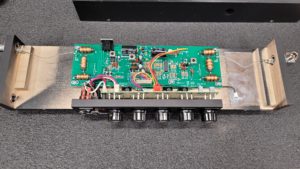
To Open Remove the 4 Philips Screws 2 of the Front Face and 2 On The Back.
Bord Removal is Straight Forward 5 Screws Holding the PCB Down and this Model there are 2 screws holding the Antenna Wires to the Connectors.
There is also a Washer Under the PCB Back Left Screw!! That little PCB With Wires on the left is what is going to be installed.
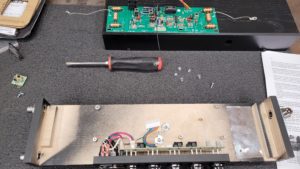
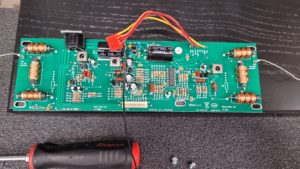
Using the Hakko 472D Desoldering Gun Quickly Desolder The Yellow Audio Line And Clean The Solder Form the Unpopulated Holes.
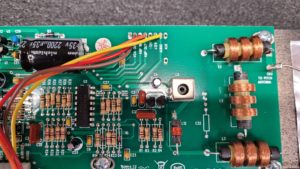
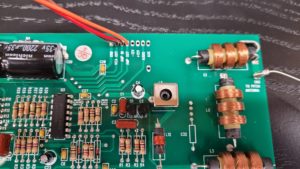
Solder In the Etherwave ESP01 Board.
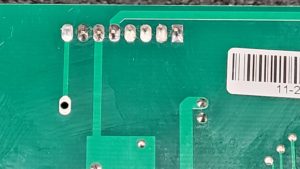
Solder the Yellow Audio Wire To The ESP01 Board
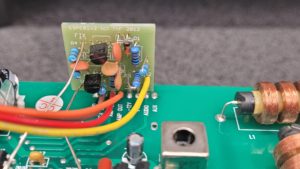
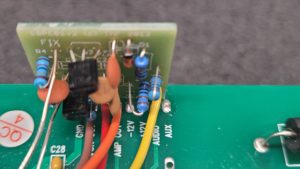
Remove the 2 Caps C2 And C 6 (This is best Done Using The Proper Desoldering Equipment) The designer of this PCB made the pads and traces really small.
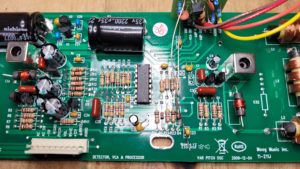
Carefully Bend one of the the Leads on each of the Capacitors and solder them back in with the bent lead on the PCB side and leave the straight leg facing the back of the unit then measure the Wires on the ESP01 Board trim them so they are a nice fit then solder them to the strait leads to the capacitor.
The Fix Goes to the Hole on C6 towards the front of the unit or to the hole closest to the C6 Printing.
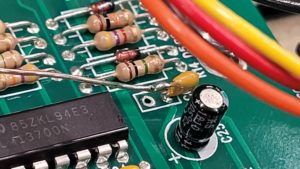
Do Take Note the Var Goes to the Hole On C2 towards the rear of the unit or to the hole closest to the C2 Printing.
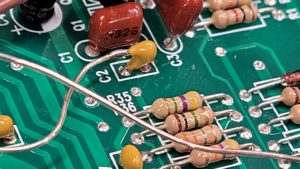
How Both Leads are Connected.
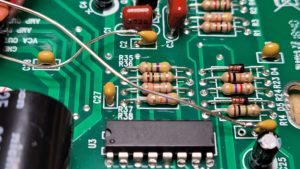
Now That’s it!! Reassembly is in reverse order! Do not forget the Washer under the PCB On the back left Side.
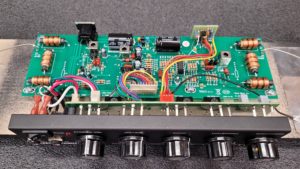
Do Not feel Comfortable installing this modification yourself?
Now offering Moog Etherwave PLUS ESPE01 Module Install Service is $55.00 + Shipping. (2021) UPS or Fedex Only Due to USPS Delays (I am Located In Vancouver Wa) You Must Supply The ESPE01 Module You Can Have It Shipped Directly to Me If Needed. The Turnaround Time For Standard Install Service is 3-5 Days From The Package Package is Received. Rush Service AKA Same Day / Next Day Install is Available.
Please Note Washington State Customers along with Dropoff and Local Pickup Will Be Charged Sales Tax. You Can Contact Me Via Facebook or Call Me or Leave a Message
Thank You For Supporting Small Business..
Last Updated on March 10, 2021 by Steven Rhine
